Quickstart
Biel.ai adds AI-powered chat and search to your documentation site. Users ask questions in plain language and get answers drawn from your content — instead of browsing pages or filing support tickets.
In this tutorial, you create a Biel.ai account, index your documentation, and test the assistant from the dashboard. Later, you can embed the assistant or search widget on your site.
1. Create your Biel.ai account
The standard 14-day trial includes Business features, 10,000 indexed pages shared across your team, 25,000 monthly interactions, and unlimited projects. See Manage subscription for usage and billing details.
-
Open app.biel.ai.
-
Click Sign up.
-
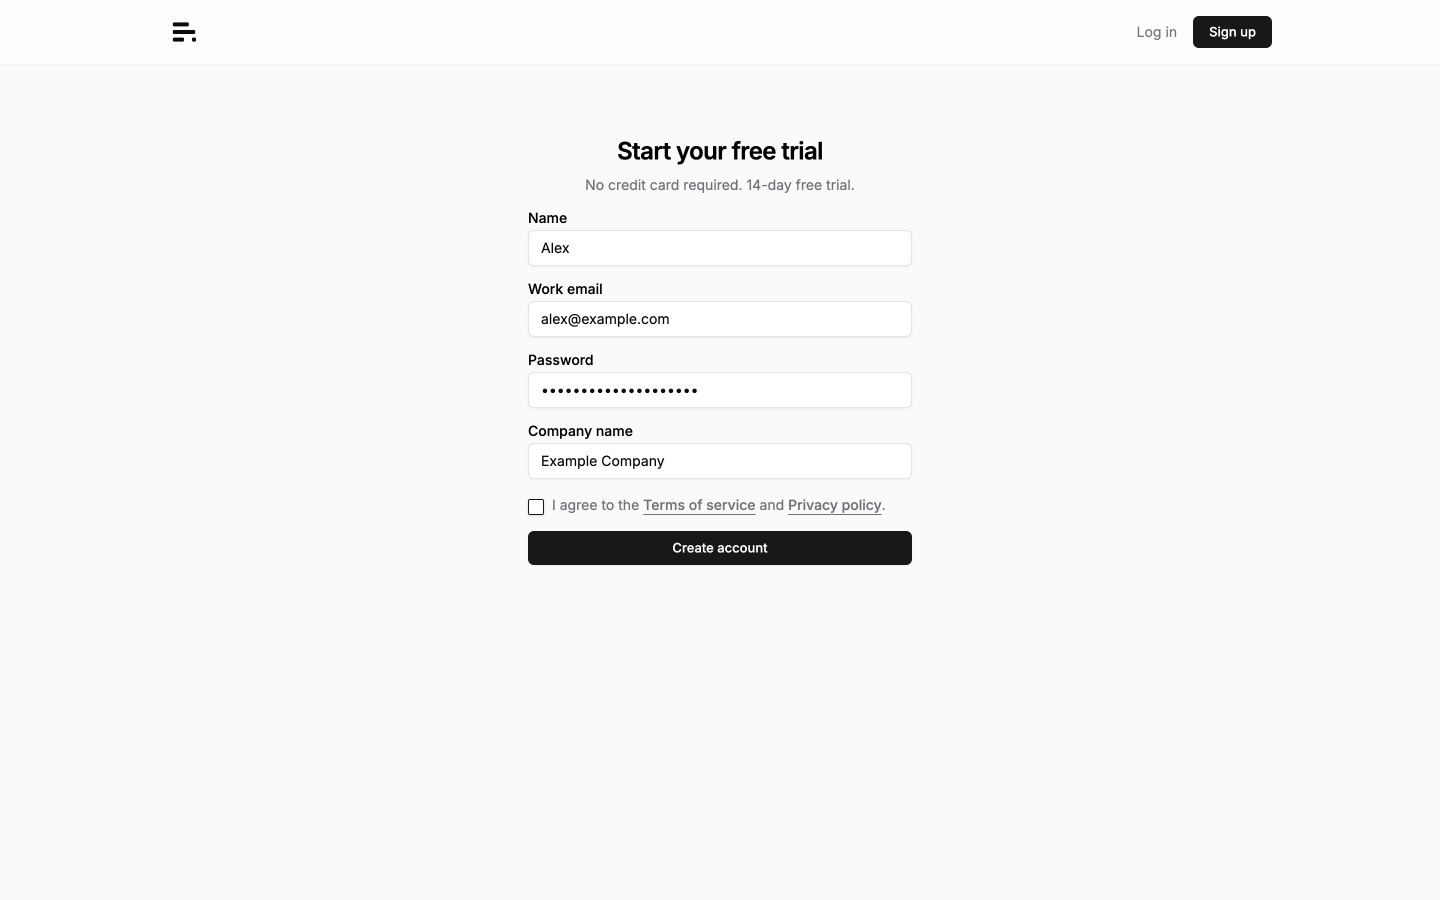
Enter your Work email and Password. You can also add your Name and Company name.
-
Accept the Terms of service and Privacy policy, then click Create account.
-
Open the verification link in your email to activate your account.
2. Create a project
A project groups your content sources and powers the assistant. Each project has its own index, settings, and analytics.
-
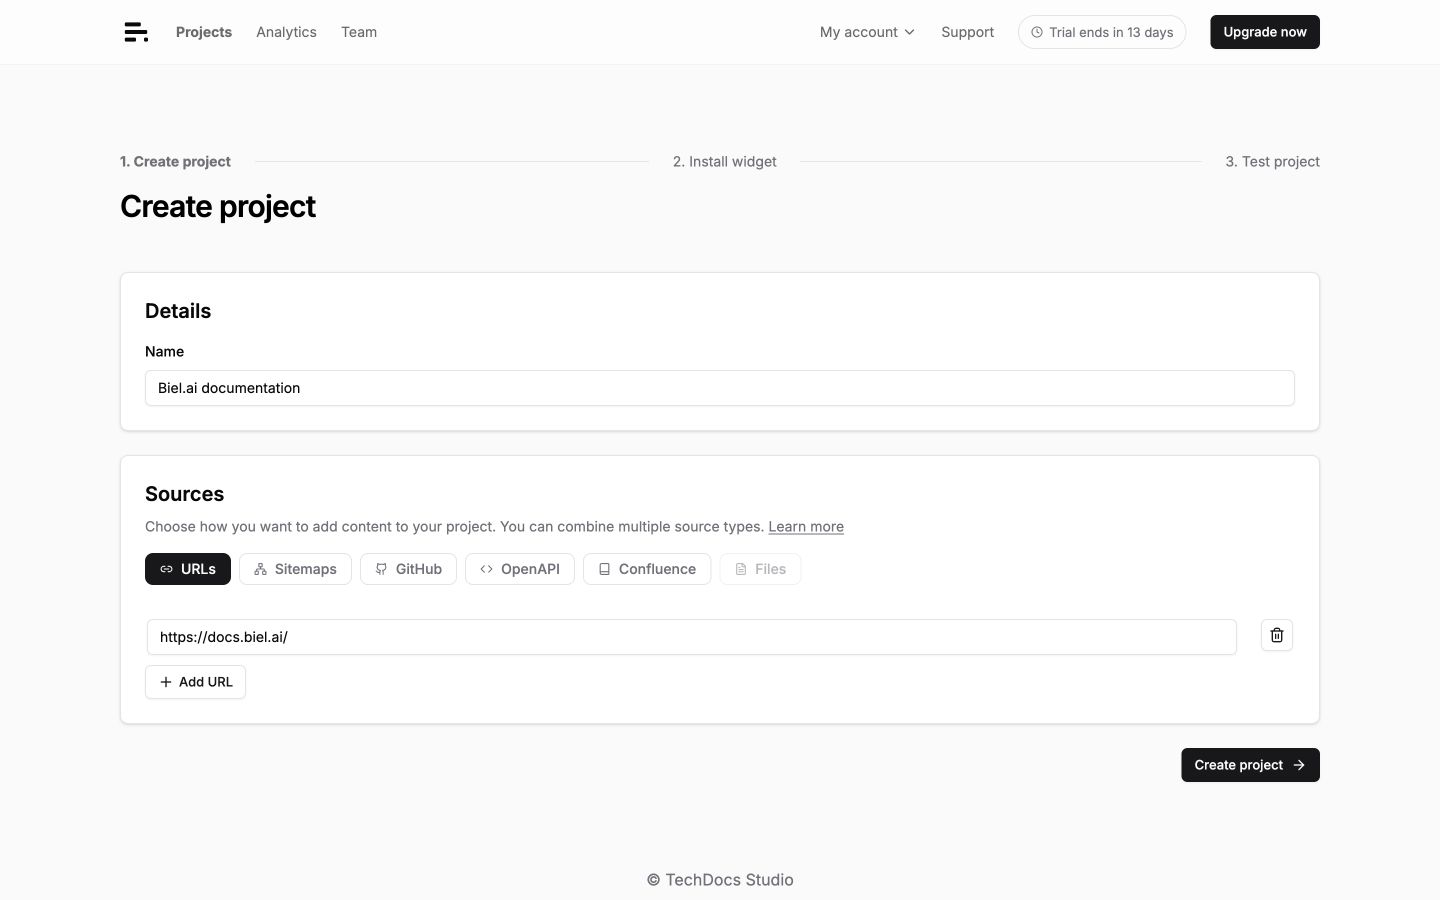
In the dashboard, click Projects > Create project.
-
Enter a Name for your project.
-
Add one or more Sources to index:
Source type Description URLs Individual webpages, such as https://docs.biel.ai/.Sitemaps Multiple pages from a sitemap URL. GitHub Documentation files from a repository. OpenAPI API documentation from an OpenAPI specification URL. Confluence Pages from a Confluence space. To use Files, create the project first, then upload your documents in Settings > Sources > Files.
-
Click Create project. If you added only one URL, click Proceed anyway in the coverage warning, or cancel to add more sources.
-
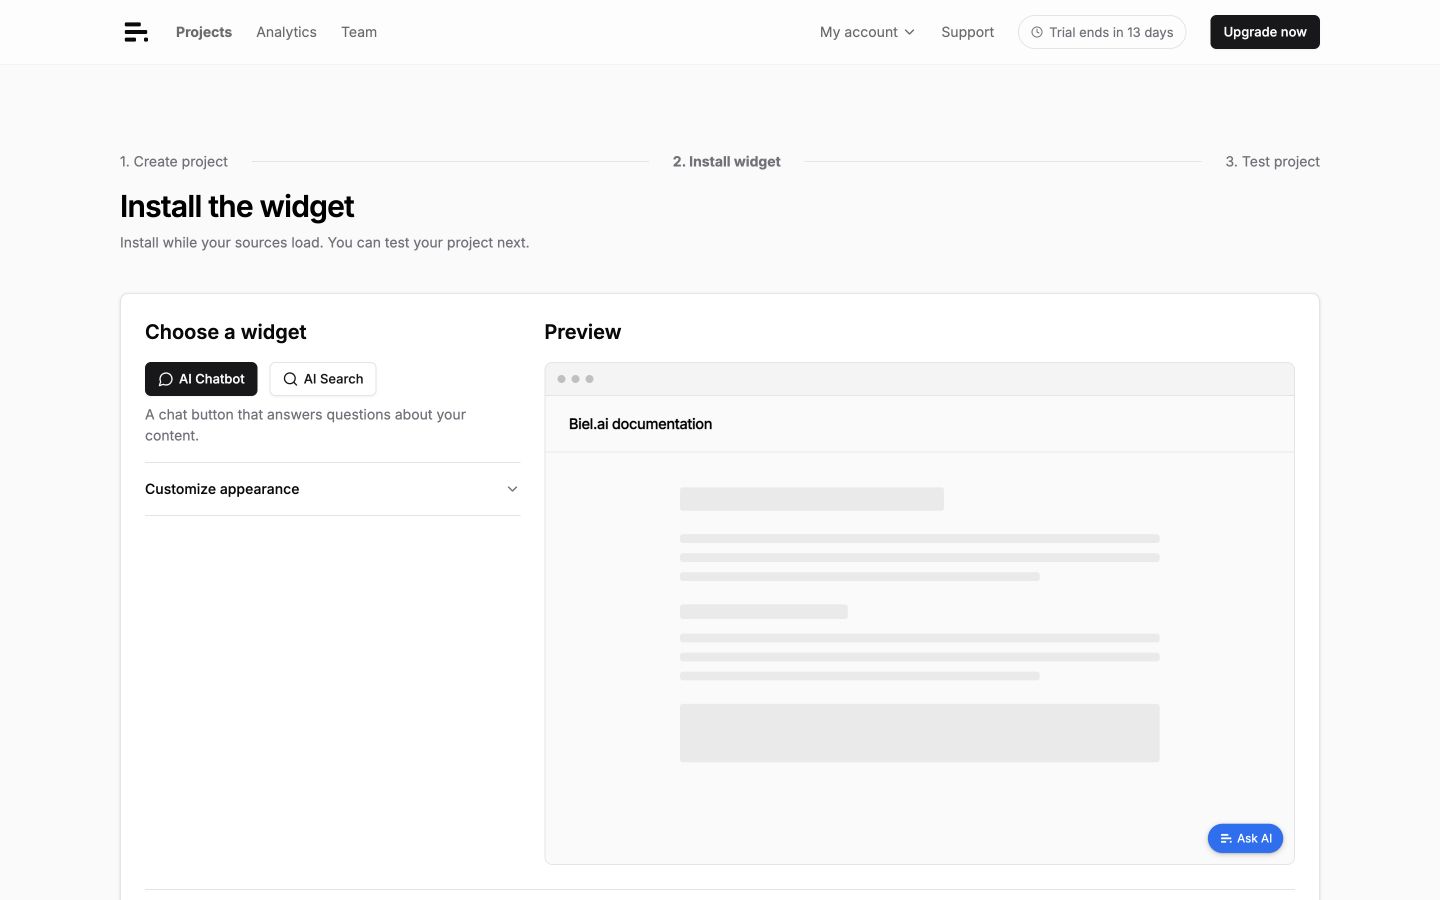
On Install the widget, choose AI Assistant or AI Search. Preview the widget and optionally expand Customize appearance.
-
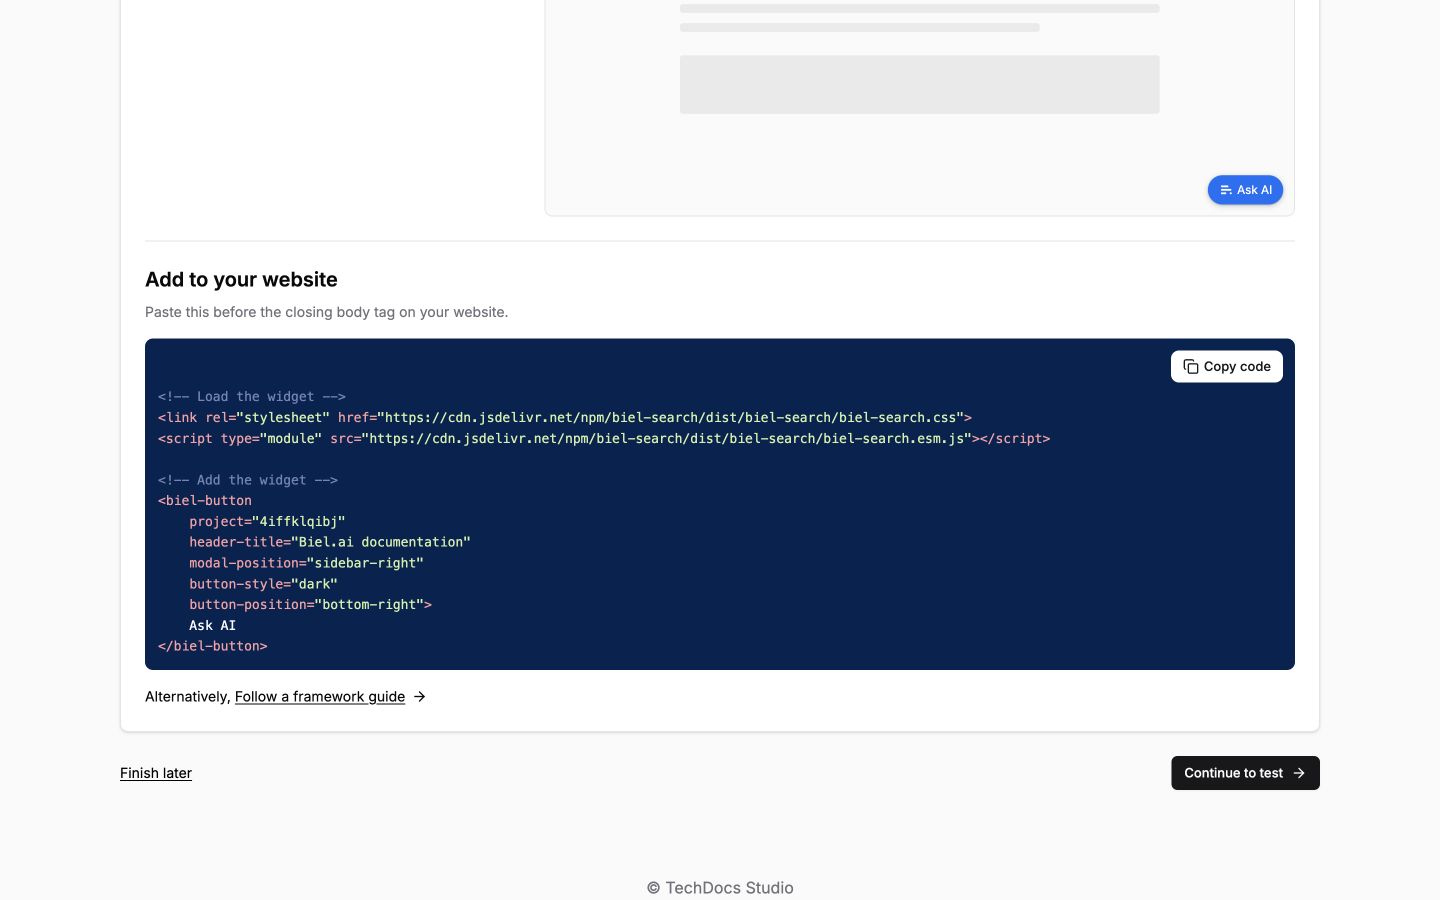
Under Add to your website, use Copy code to copy the snippet for your website. You can install it later.
-
Click Continue to test.
Biel.ai crawls and indexes your sources while you set up the widget. The next screen shows Your project is ready to test when processing finishes.
3. Test the assistant
Now that your content is indexed, verify that the assistant returns accurate answers:
-
On Test your project, click Test assistant.
-
In the chat window, type a question about your indexed content and click Send.
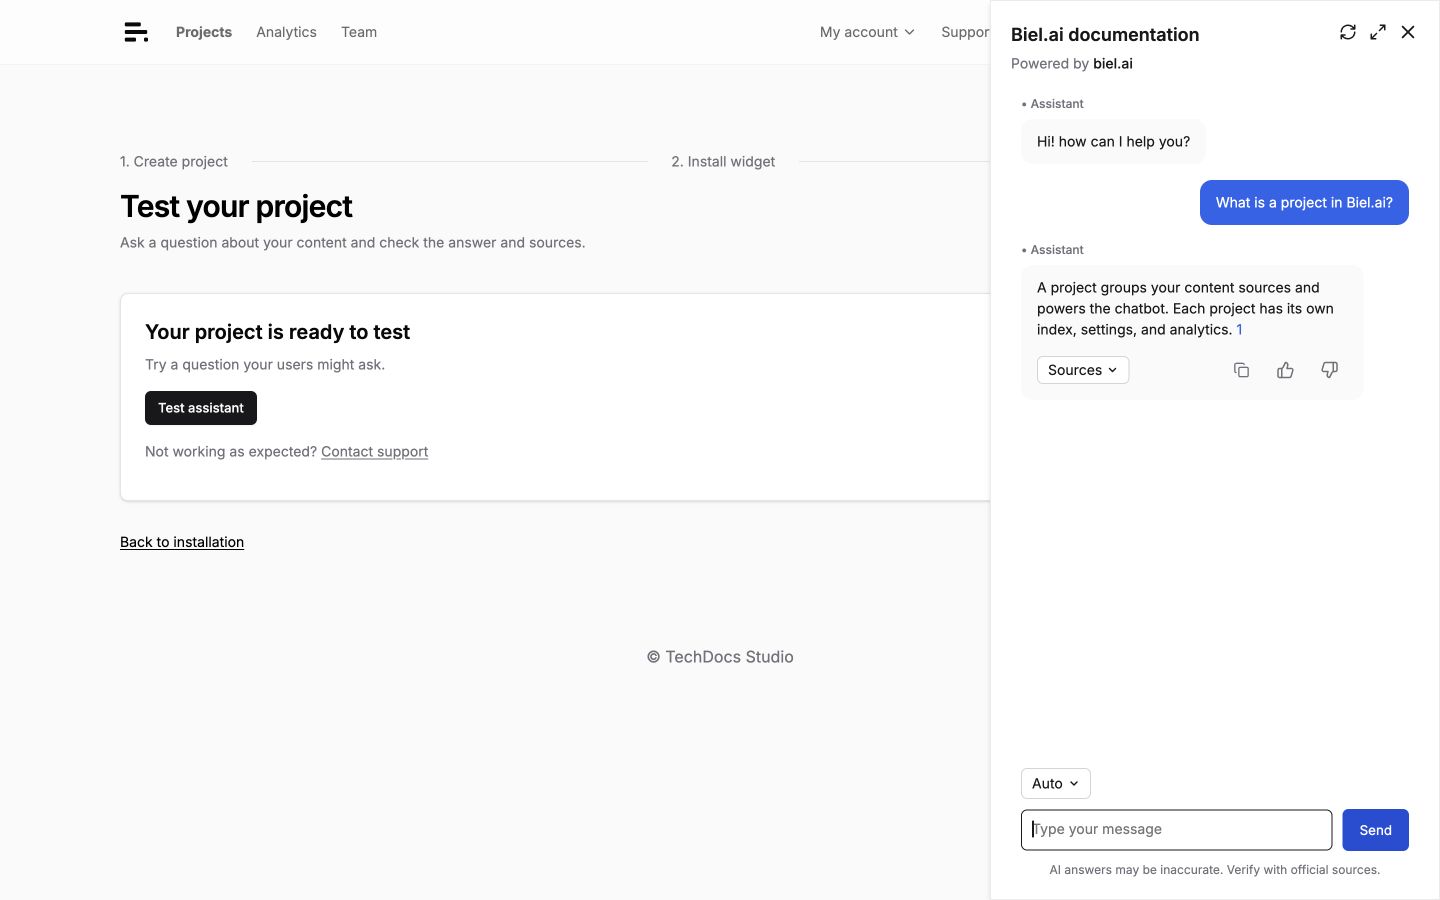
Close the chat window, then click Go to project to view your saved conversations and settings. You can start another test from New chat on the project dashboard. The dashboard shows Sources loading during a crawl and Sources loaded when it finishes.
- Check Logs to verify that your sources were indexed correctly.
- Adjust the assistant behavior in Settings.
- Click Refresh sources to re-crawl your content.
Next steps
Your project is ready. Choose how you want to surface it to users:
- Assistant widget — Embed an AI chat button on your site. See the Installation guides for your platform.
- Search widget — Add an AI-powered search bar instead of (or alongside) the assistant. See Install biel-search.
- MCP server — Let developers query your docs from AI coding assistants like Claude or Cursor. See MCP Server.
- Integrations — Connect Biel.ai to GitHub Actions, ChatGPT plugins, Zapier, and more. See Integrations.