Sources overview
Configure content sources that your assistant uses to answer questions. Sources determine what information is available to users.
Only Administrator and Maintainer roles can manage sources. See Manage roles.
Sources that require sign-in can use saved team credentials. Public sources usually need only their URL.
Q&A, uploaded files and videos contribute to your assistant’s answers. They are excluded from the widget’s default page search. Videos use their full transcript, divided into passages with timestamps, for answers.
Source types
Sitemaps
Add entire websites using XML sitemaps
URLs
Add individual web pages
Files
Upload documents in PDF, Word, Excel, and other formats
GitHub
Add code repositories and their documentation
Confluence
Import from Confluence
OpenAPI
Add OpenAPI/Swagger specifications for API documentation
YouTube
Add YouTube videos to your assistant
Vimeo
Add Vimeo videos to your assistant
Q&A
Write questions and answers directly
Private content
Manage private and authenticated content
Add a source
-
In the Biel.ai dashboard, select your project.
-
Go to Settings > Sources.
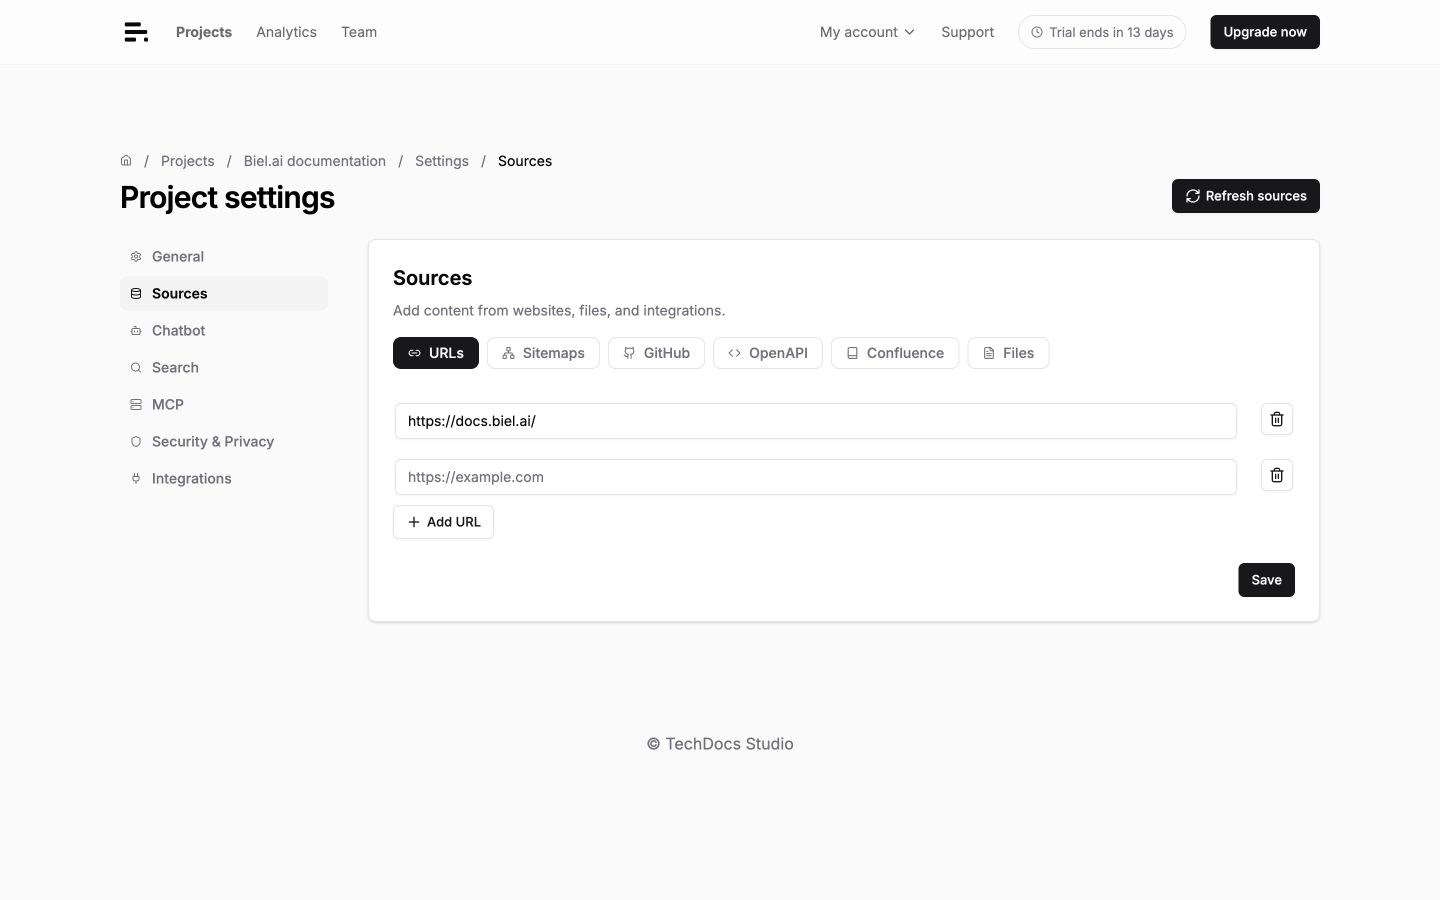
-
Choose a source type and configure it.
-
Click Save.
-
Click Refresh sources to index the updated content.
The project dashboard shows Sources loading while content is being indexed and Sources loaded when it finishes. Open Logs to check which pages were processed, then test your assistant.
To upload files, create the project first, then open Settings > Sources > Files. Uploads are saved as soon as they finish; click Refresh sources to index them.
Save and refresh
Save stores the source URLs and settings. Refresh sources reads and indexes their current content for your assistant. After adding a source, changing its language, credentials, repository version or filters, save your changes and refresh sources.
Biel.ai checks your sources for changes and reuses previously processed content where possible. It keeps the current extracted content while the source remains configured, so a long gap between refreshes does not by itself require processing the same content again. Refreshing still checks access to private sources and updates changed or removed content. Websites that load content through JavaScript or include images may need additional checks even when their HTML is unchanged.
When refreshing finishes, test your assistant with a question about the content. If it cannot answer, check the source’s error message and the project’s Logs. For private content, also check the selected account’s access and credential settings.
Remove a source
Click the source’s delete icon, then Save and Refresh sources. Use Undo before saving to cancel the removal. File uploads and deletions are saved immediately. Refresh sources after changing the uploaded files.