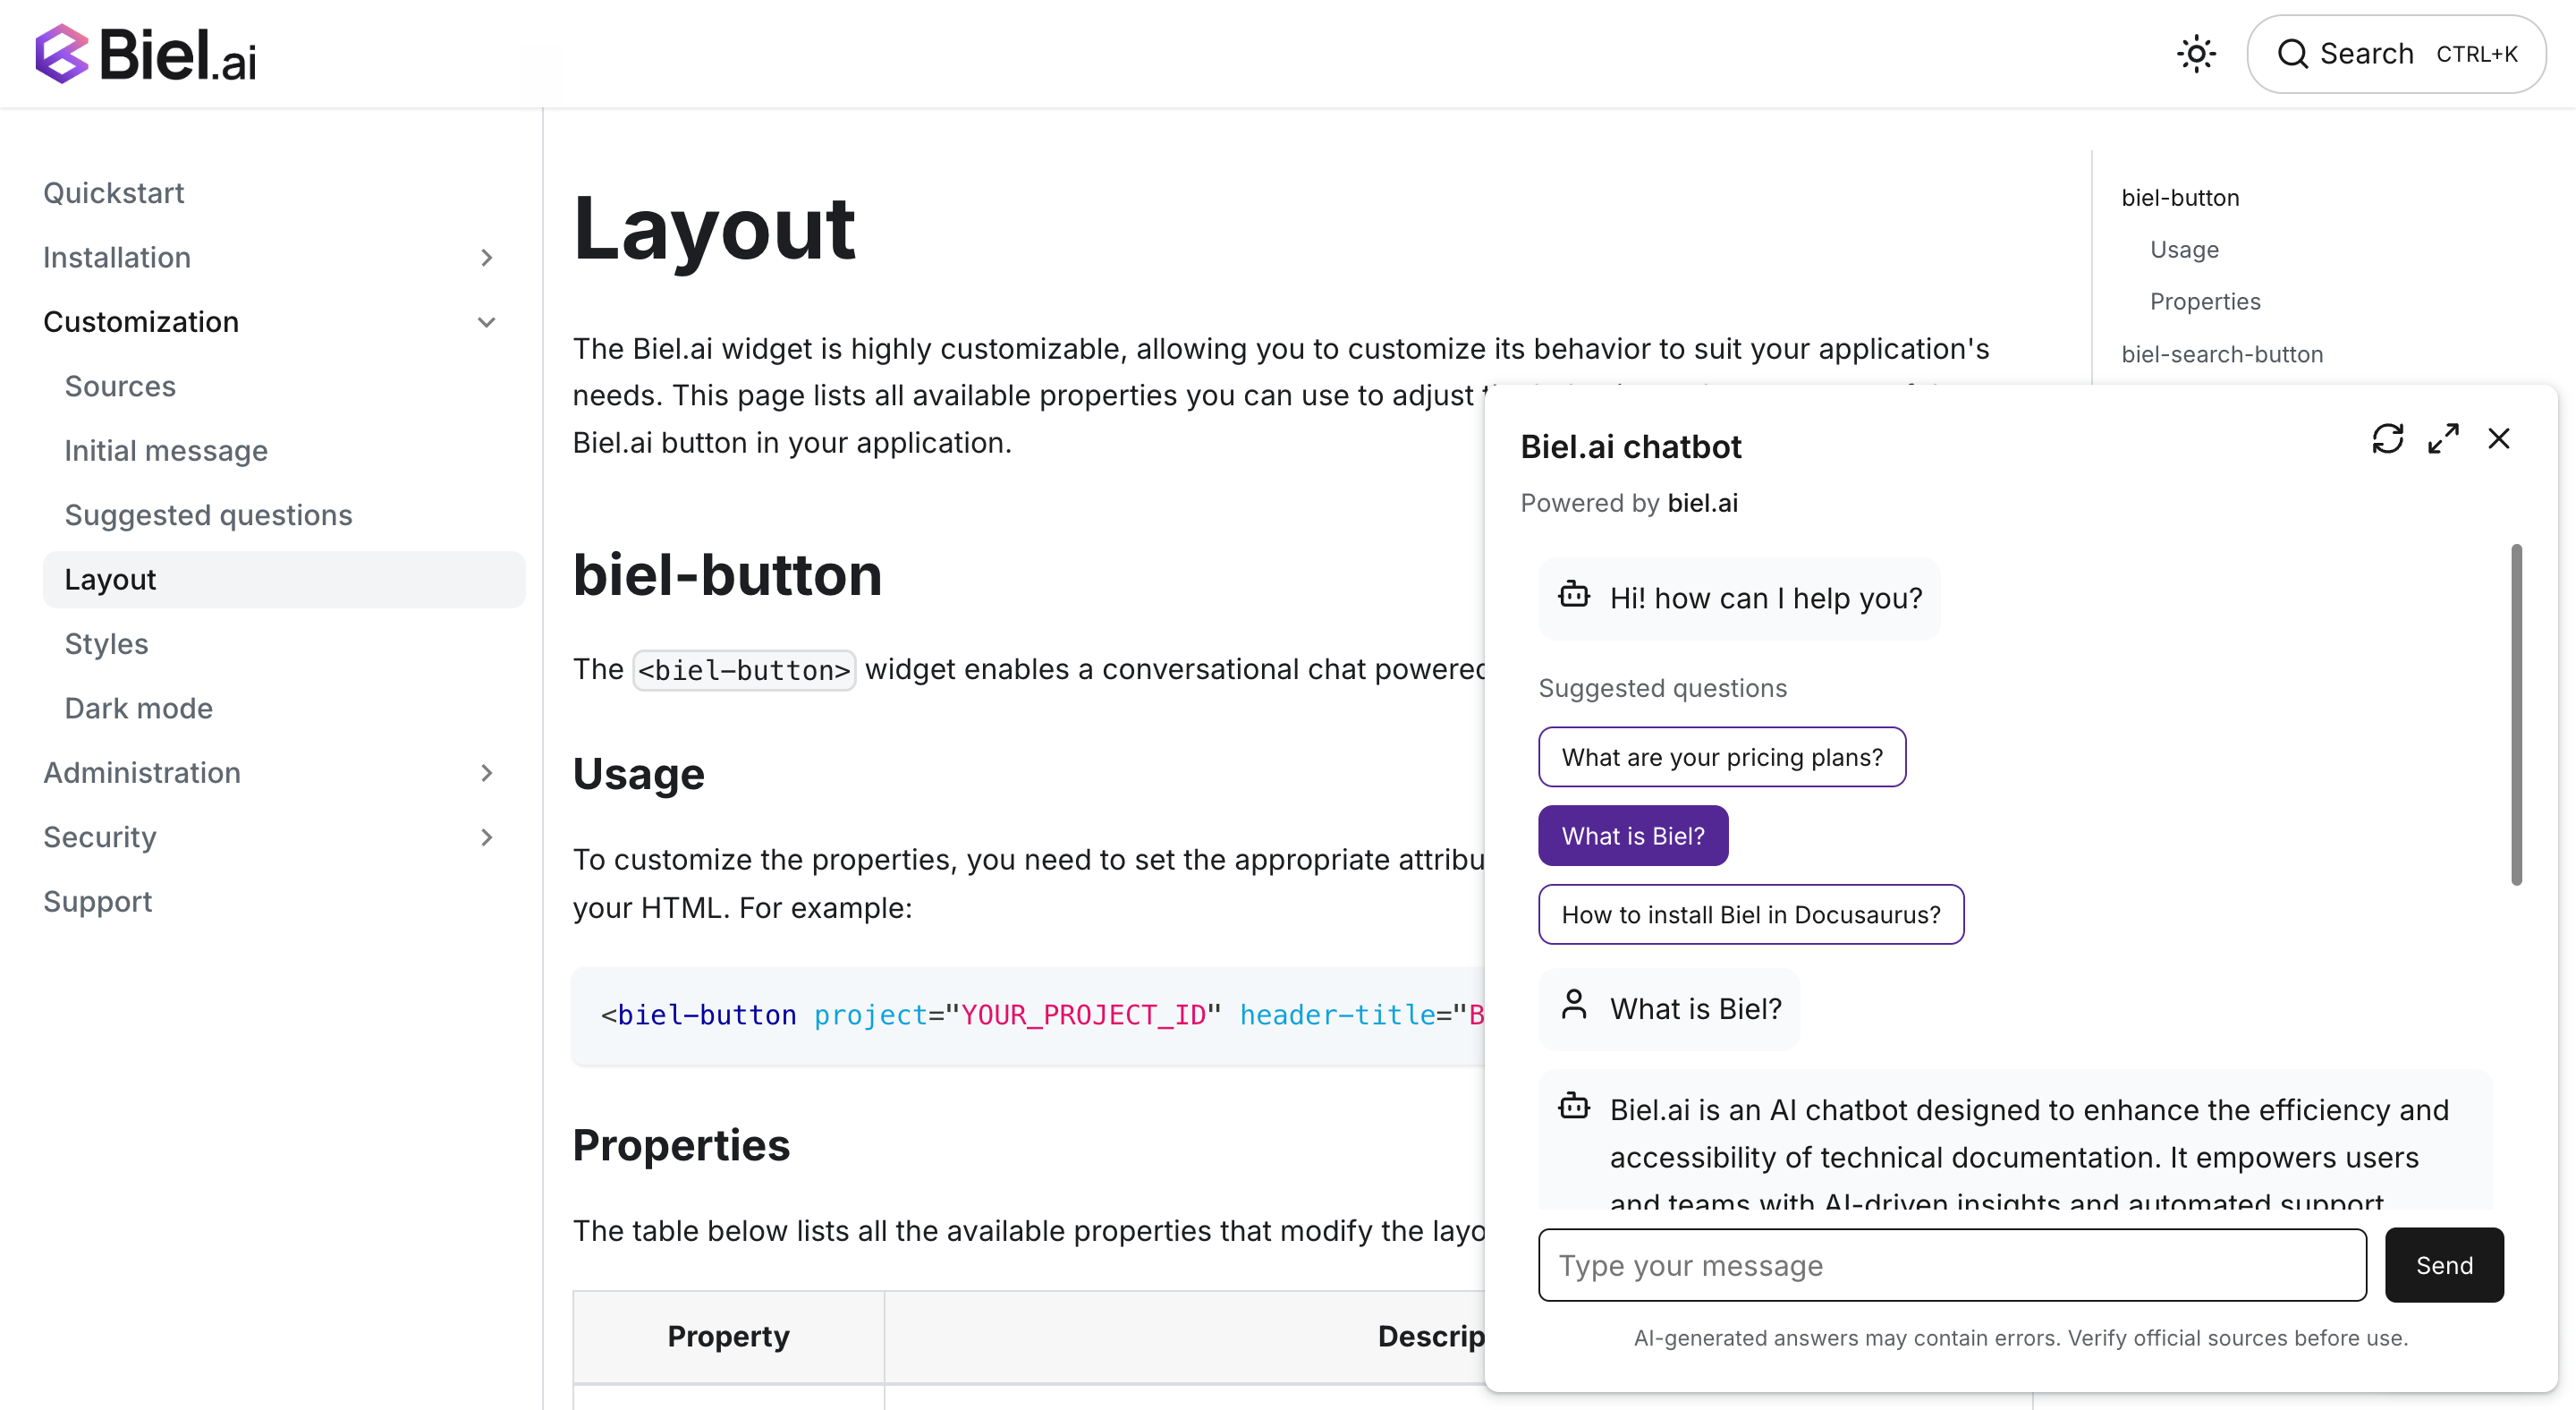
Ask AI chatbot widget for Next.js
Add an AI chatbot to your Next.js site using Biel.ai's React components. The integration works with both client and server-side rendering, and supports all Next.js versions including the App Router.
This guide shows you how to install the package via NPM and add the chat widget to your Next.js components in minutes.
Prerequisites
Before starting, ensure you have:
- A Biel.ai account. If you don't have one, sign up for free.
- A project created in your Biel.ai dashboard. Follow the Quickstart guide to create one.
- A Next.js application ready to install Biel.ai.
- Node.js installed.
Installation
The Biel.AI chat widget enables a conversational chat powered by AI in your site.

To integrate the Biel.AI chat widget into your Next.js site:
-
Open your terminal or command prompt. Navigate to your project's root directory using the
cdcommand:cd path/to/your/projectReplace
path/to/your/projectwith your project's actual directory path. -
With your terminal still open, run the following command to install Biel.ai:
npm install biel-reactinfoIf you're using yarn as your package manager, run
yarn add biel-reactinstead of the npm command above.This will download and install the Biel.ai package into your project.
-
Create a wrapper for the chatbot by creating a file under the path
components/biel-search.tsxand paste the following code:import React, { useEffect } from 'react';
import { BielButton } from 'biel-react';
import { JSX, defineCustomElements } from 'biel-search/loader';
import { StyleReactProps } from 'biel-react/dist/types/react-component-lib/interfaces';
import 'biel-search/dist/biel-search/biel-search.css';
const DynamicBielButtonComponent = (props: React.JSX.IntrinsicAttributes & JSX.BielButton & Omit<React.HTMLAttributes<HTMLBielButtonElement>, "style"> & StyleReactProps & React.RefAttributes<HTMLBielButtonElement>) => {
useEffect(() => {
defineCustomElements(windowF);
}, []);
return <BielButton {...props} />;
};
export default DynamicBielButtonComponent; -
In the component where you wish to display the chatbot (often
_pages/app.tsxorapp/layout.tsx), include it shown below:'use client'
import dynamic from 'next/dynamic';
export default function Banner() {
const DynamicBielButton = dynamic(() => import('@/components/utils/biel-search'), {
ssr: false,
});
return (
<div className="App">
{/* Other components and content */}
<DynamicBielButton
project="<YOUR_PROJECT_ID>"
header-title="Biel.ai chatbot"
button-position="bottom-right"
modal-position="bottom-right"
button-style="dark">
Ask AI
</DynamicBielButton>
</div>
);Replace
<YOUR_PROJECT_ID>with your project's ID from the Biel.ai dashboard. -
Start your Next.js app by running
npm startoryarn startin your terminal. Once it compiles successfully, verify that the chatbot appears and functions correctly on your site.
Next steps
For more about customization and additional features exploration, check out the customization section.
Need assistance? We're here to help! Reach out to us at Biel.ai Support.