Ask AI assistant widget for Vue.js
Add an AI assistant or AI search widget to your Vue.js application using Biel.ai's Vue components. The integration works with both Vue 2 and Vue 3, and is compatible with Vue CLI, Vite, and other common Vue setups. You can also connect AI agents through MCP, with or without installing the widget.
Prerequisites
- A Biel.ai account.
- A project with indexed content.
- A Vue.js application.
- Node.js installed.
Add the assistant widget
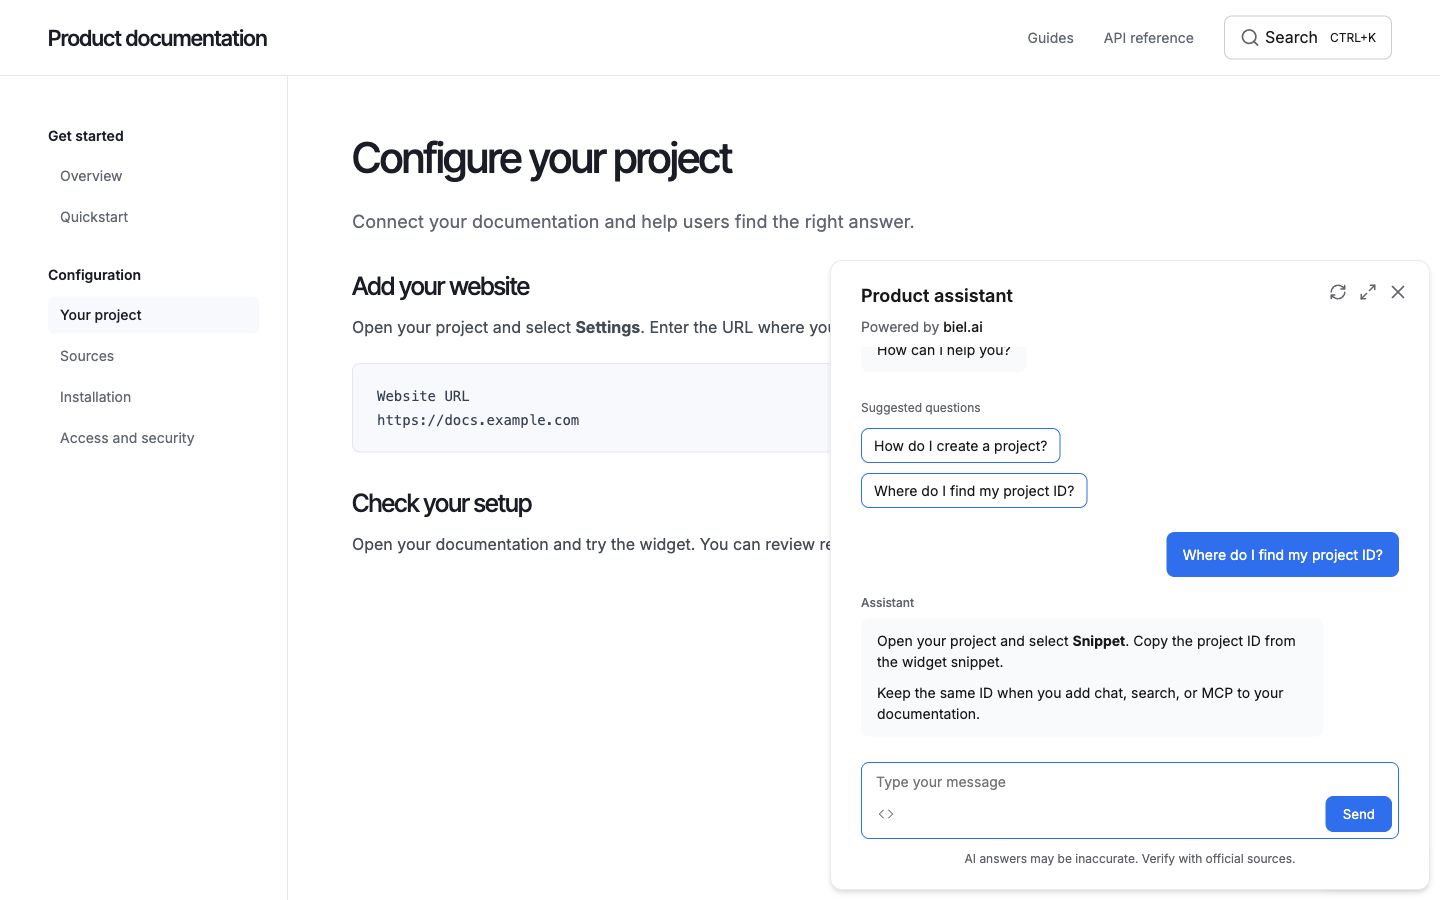
-
Install Biel.ai:
npm install biel-search -
Import the styles and scripts in the Vue component that will contain the assistant:
<script>import 'biel-search/dist/biel-search/biel-search.css';import bielPackage from 'biel-search/package.json';if (!document.querySelector('script[data-biel]')) {const script = document.createElement('script');script.type = 'module';script.src = `https://cdn.jsdelivr.net/npm/biel-search@${bielPackage.version}/dist/biel-search/biel-search.esm.js`;script.dataset.biel = '';document.head.appendChild(script);}</script> -
In the template section of your Vue component, add the following snippet:
<template><!-- Rest of your component's template --><biel-buttonproject="<YOUR_PROJECT_ID>"header-title="Biel.ai assistant"button-position="bottom-right"modal-position="bottom-right"button-style="dark">Ask AI</biel-button></template>Replace
<YOUR_PROJECT_ID>with your project's ID from the Biel.ai dashboard. -
Run
npm run serveand verify the assistant appears on your site.
Add the search widget
-
Install
biel-search:npm install biel-search -
In Vue 3, create
src/components/BielSearch.vue:<script>import { h, onMounted } from 'vue';import bielPackage from 'biel-search/package.json';import 'biel-search/dist/biel-search/biel-search.css';export default {setup() {onMounted(() => {if (!document.querySelector('script[data-biel]')) {const script = document.createElement('script');script.type = 'module';script.src = `https://cdn.jsdelivr.net/npm/biel-search@${bielPackage.version}/dist/biel-search/biel-search.esm.js`;script.dataset.biel = '';document.head.appendChild(script);}});return () => h('biel-search-button', {project: '<YOUR_PROJECT_ID>','button-style': 'rounded',}, 'Search');},};</script>For Vue 2, load the assets below in
public/index.htmland use this component instead:<script>export default {render(h) {return h('biel-search-button', {attrs: { project: '<YOUR_PROJECT_ID>', 'button-style': 'rounded' },}, ['Search']);},};</script><link rel="stylesheet" href="https://cdn.jsdelivr.net/npm/biel-search/dist/biel-search/biel-search.css"><script type="module" src="https://cdn.jsdelivr.net/npm/biel-search/dist/biel-search/biel-search.esm.js"></script> -
Replace
<YOUR_PROJECT_ID>with your project ID. ImportBielSearchinto your header component and render<BielSearch />where the search button should appear. -
Start your app using its existing development command. Open Search, enter a documentation term, and open a result.
Connect AI agents with MCP
Let AI tools search and read your indexed documentation. MCP is available on every plan and during your trial.
- In the Biel.ai dashboard, open your project’s Settings > MCP.
- Select Enable MCP server and click Save.
- In the widget, open Connect via MCP using the
<>button. Select your AI client or choose MCP URL to copy the endpoint into its settings.
Without the widget: after enabling MCP, copy MCP endpoint from Settings > MCP and add it to your AI client. No widget installation or website changes are required.
The widget also exposes WebMCP tools to compatible browser agents visiting your site. Use the latest widget release and keep Enable WebMCP selected in Settings > MCP.
Next steps
- Customize the widget's appearance, behavior, and tone.
- Connect integrations like GitHub Actions, MCP, or Zapier.