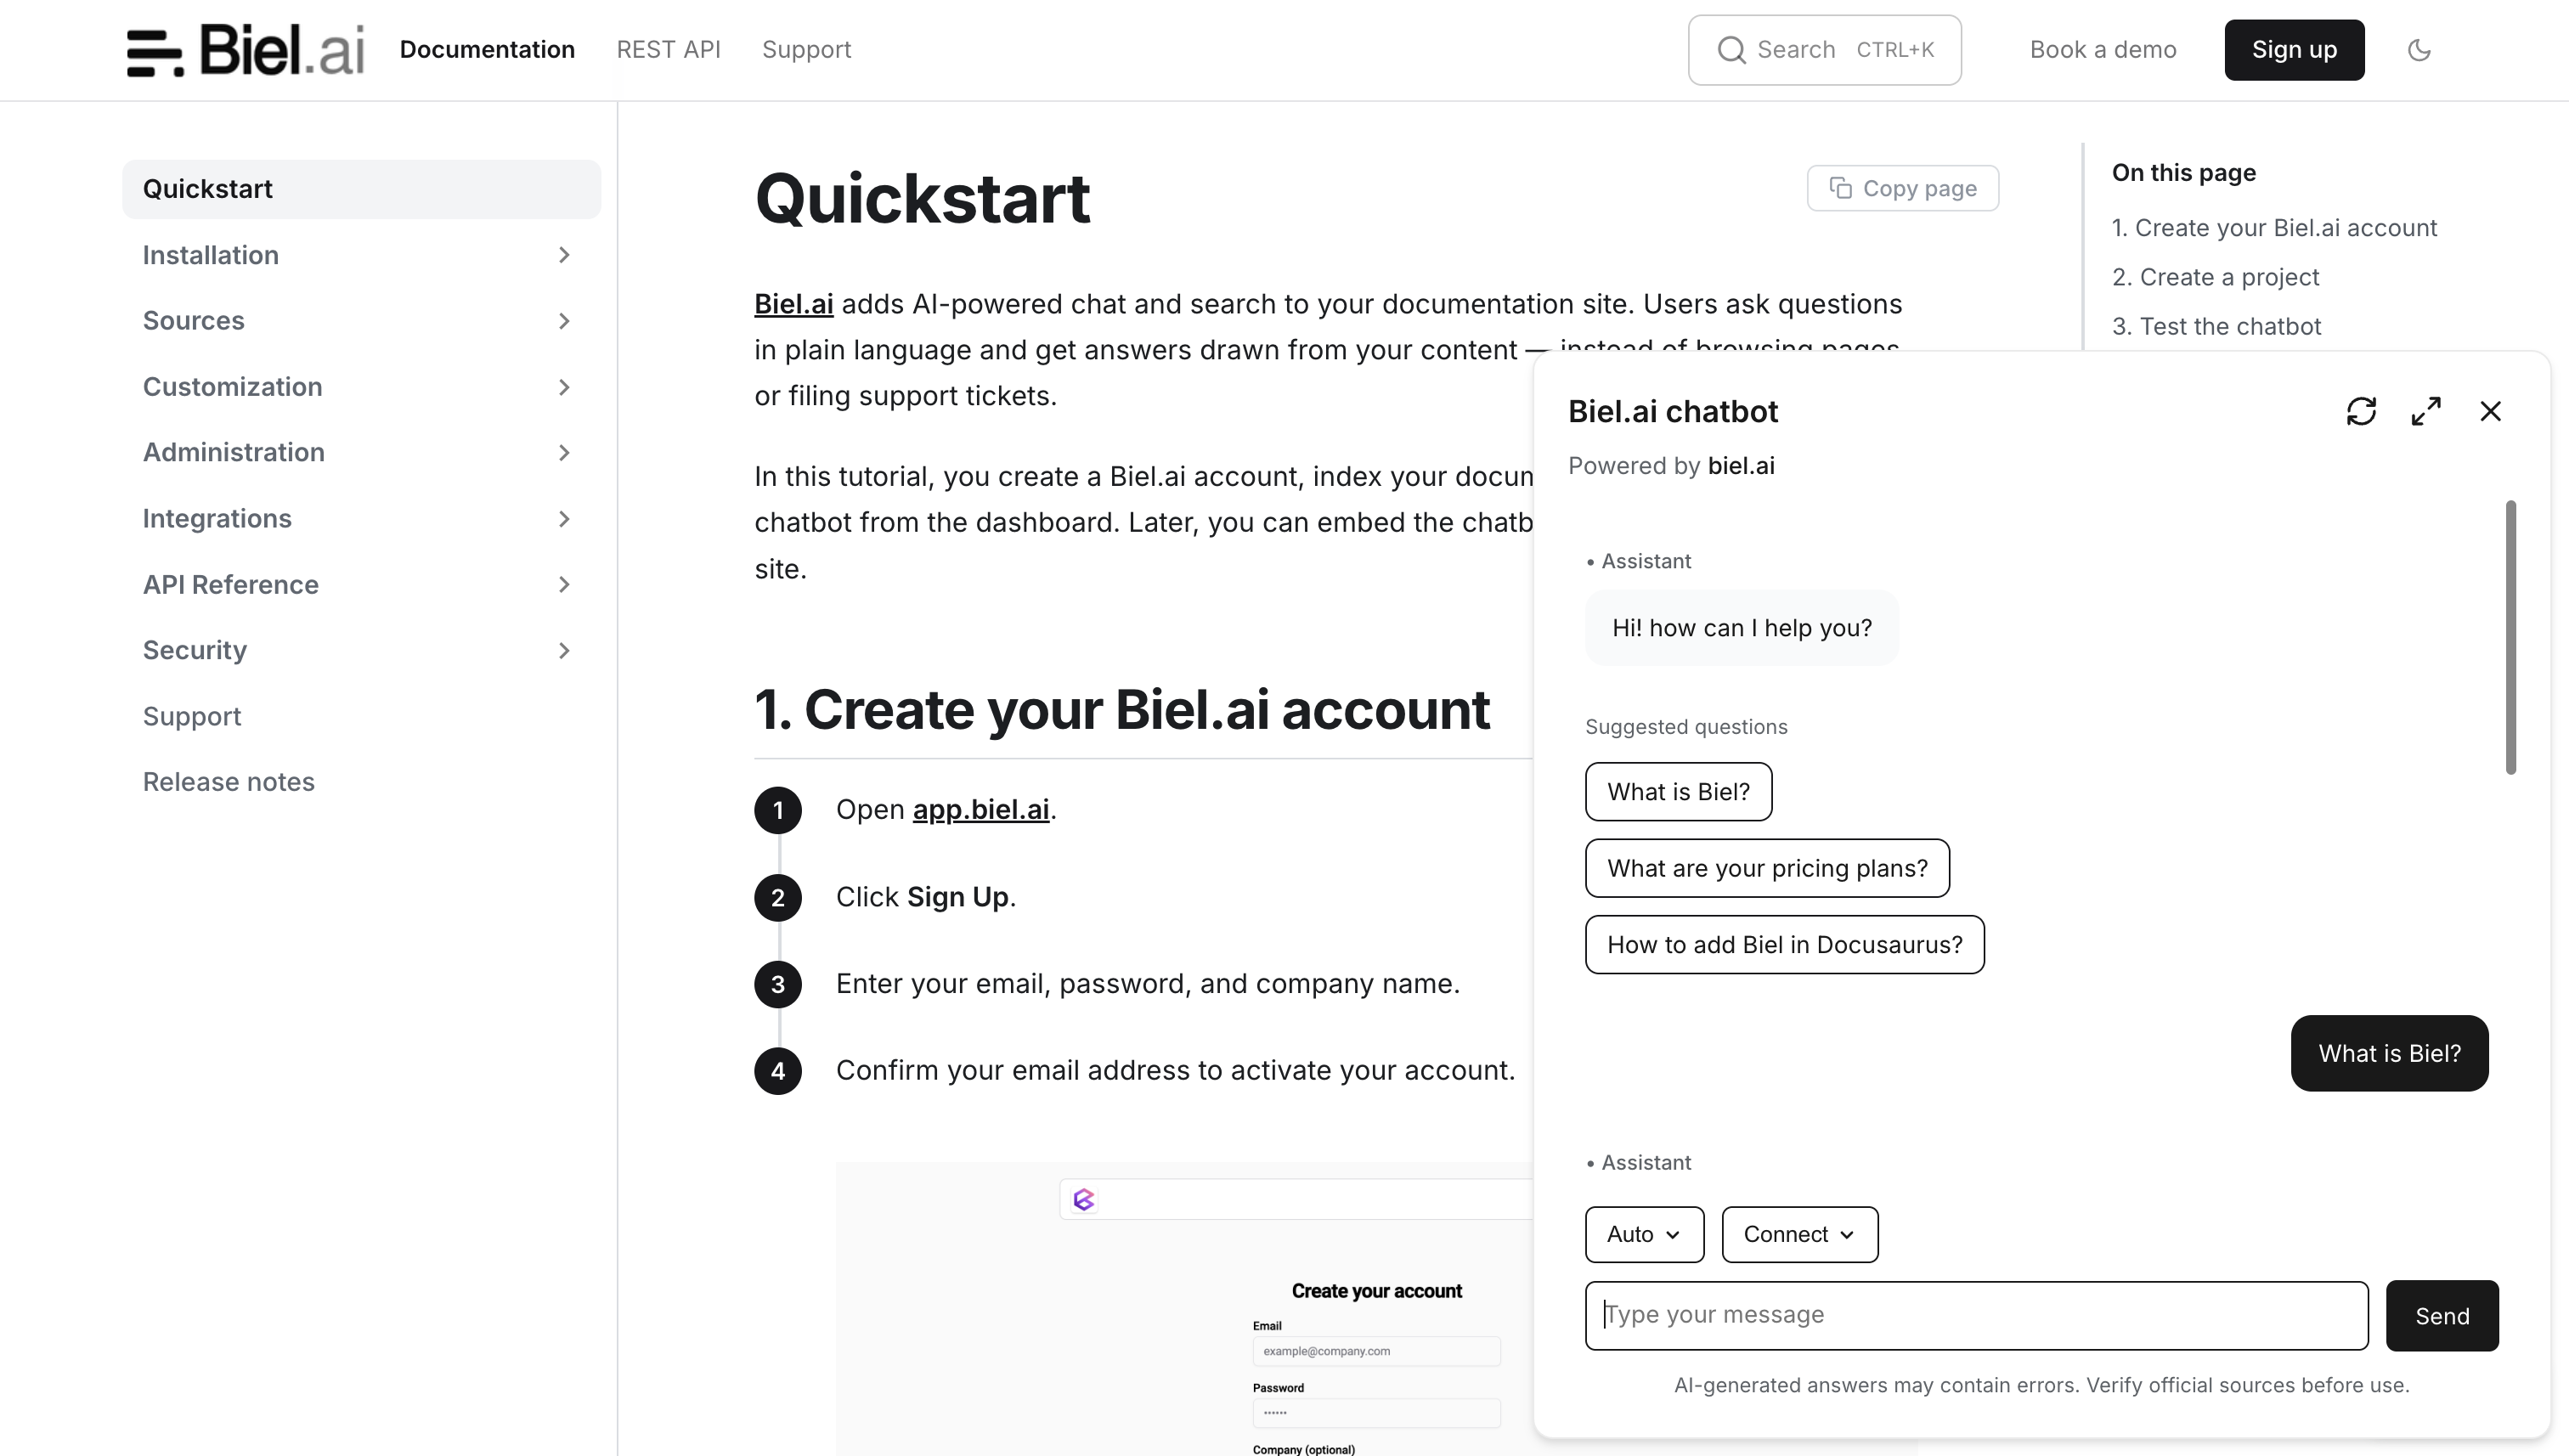
Ask AI chatbot widget for Starlight
Add an AI chatbot or AI search widget to your Starlight documentation using the starlight-biel plugin.
Prerequisites
- A Biel.ai account.
- A project with indexed content.
- A Starlight site (Starlight 0.32 or later).
- Node.js installed.
Add the chatbot widget
The starlight-biel plugin adds a floating chat button to your site.
-
Install the plugin:
npm install starlight-biel -
Add the plugin to your Starlight configuration in
astro.config.mjs:import { defineConfig } from 'astro/config'
import starlight from '@astrojs/starlight'
import starlightBiel from 'starlight-biel'
export default defineConfig({
integrations: [
starlight({
title: 'My Docs',
plugins: [
starlightBiel({
project: '<YOUR_PROJECT_ID>',
headerTitle: 'Biel.ai chatbot',
}),
],
}),
],
})Replace
<YOUR_PROJECT_ID>with your project's ID from the Biel.ai dashboard. -
Run
npm run devand verify the chat button appears in the bottom-right corner.
Customization
Pass layout options to the plugin as camelCase properties:
starlightBiel({
  project: '<YOUR_PROJECT_ID>',
  bielButtonText: 'Ask AI',
  buttonPosition: 'bottom-right',
  modalPosition: 'bottom-right',
  buttonStyle: 'dark',
  headerTitle: 'Documentation AI',
})
Set enable: false to turn the widget off without removing the configuration.
Add the search widget
The search widget replaces Starlight's built-in Pagefind search with Biel.ai's AI-powered search. The starlight-biel plugin already loads the required assets, so one component override is all it takes.

-
Create
src/components/Search.astrowith the following content:---
---
<biel-search-button project="<YOUR_PROJECT_ID>" button-style="rounded" header-title="Documentation AI">
Search
</biel-search-button>Replace
<YOUR_PROJECT_ID>with your project's ID from the Biel.ai dashboard. -
Register the override in your Starlight configuration in
astro.config.mjs:starlight({
components: {
Search: './src/components/Search.astro',
},
plugins: [
starlightBiel({ project: '<YOUR_PROJECT_ID>' }),
],
}) -
Run
npm run devand verify the search widget appears in the navbar where Pagefind's search was.
Skip the override and the two searches coexist: Pagefind stays in the navbar for keyword lookup and Biel.ai answers questions from the chat button.
Alternative: component overrides
If you prefer not to use the plugin, or need to place the button inside a custom component, you can add the widget manually with Starlight's head configuration and a footer override.
-
Load the dependencies in your Astro configuration file (
astro.config.mjs):import starlight from '@astrojs/starlight'
import { defineConfig } from 'astro/config'
export default defineConfig({
integrations: [
starlight({
head: [
{
tag: 'link',
attrs: {
rel: 'stylesheet',
href: 'https://cdn.jsdelivr.net/npm/biel-search/dist/biel-search/biel-search.css',
},
},
{
tag: 'script',
attrs: {
type: 'module',
src: 'https://cdn.jsdelivr.net/npm/biel-search/dist/biel-search/biel-search.esm.js',
},
},
],
(...)
}),
],
}) -
Create
src/components/CustomFooter.astrocontaining a<biel-button>element alongside the default footer content:---
import type { Props } from '@astrojs/starlight/props';
import EditLink from 'virtual:starlight/components/EditLink';
import Icon from 'virtual:starlight/components/Icon';
import LastUpdated from 'virtual:starlight/components/LastUpdated';
import Pagination from 'virtual:starlight/components/Pagination';
import config from 'virtual:starlight/user-config';
---
<footer class="sl-flex">
<biel-button project="<YOUR_PROJECT_ID>"
header-title="Biel.ai chatbot"
button-position="bottom-right"
modal-position="bottom-right"
button-style="dark">
Ask AI
</biel-button>
<div class="meta sl-flex">
<EditLink {...Astro.props} />
<LastUpdated {...Astro.props} />
</div>
<Pagination {...Astro.props} />
{
config.credits && (
<a class="kudos sl-flex" href="https://starlight.astro.build">
<Icon name={'starlight'} /> {Astro.locals.t('builtWithStarlight.label')}
</a>
)
}
</footer>
<style is:global>
.right-sidebar-container{
z-index: -1;
}
</style>
<style>
footer {
flex-direction: column;
gap: 1.5rem;
}
.meta {
gap: 0.75rem 3rem;
justify-content: space-between;
flex-wrap: wrap;
font-size: var(--sl-text-sm);
color: var(--sl-color-gray-3);
}
.meta > :global(p:only-child) {
margin-inline-start: auto;
}
.kudos {
align-items: center;
gap: 0.5em;
margin: 1.5rem auto;
font-size: var(--sl-text-xs);
text-decoration: none;
color: var(--sl-color-gray-3);
}
.kudos :global(svg) {
color: var(--sl-color-orange);
}
.kudos:hover {
color: var(--sl-color-white);
}
</style>Replace
<YOUR_PROJECT_ID>with your project's ID from the Biel.ai dashboard.The global style sets
z-index: -1on.right-sidebar-containerto ensure the button is placed on top of the right sidebar. -
Register the footer override in
astro.config.mjs:import starlight from '@astrojs/starlight'
import { defineConfig } from 'astro/config'
export default defineConfig({
integrations: [
starlight({
(...)
components: {
Footer: './src/components/CustomFooter.astro',
},
(...)
}),
],
}) -
Run
npm run devand verify the chat button appears in the bottom-right corner.
Next steps
- Customize the widget's appearance, behavior, and tone.
- Connect integrations like GitHub Actions, MCP, or Zapier.