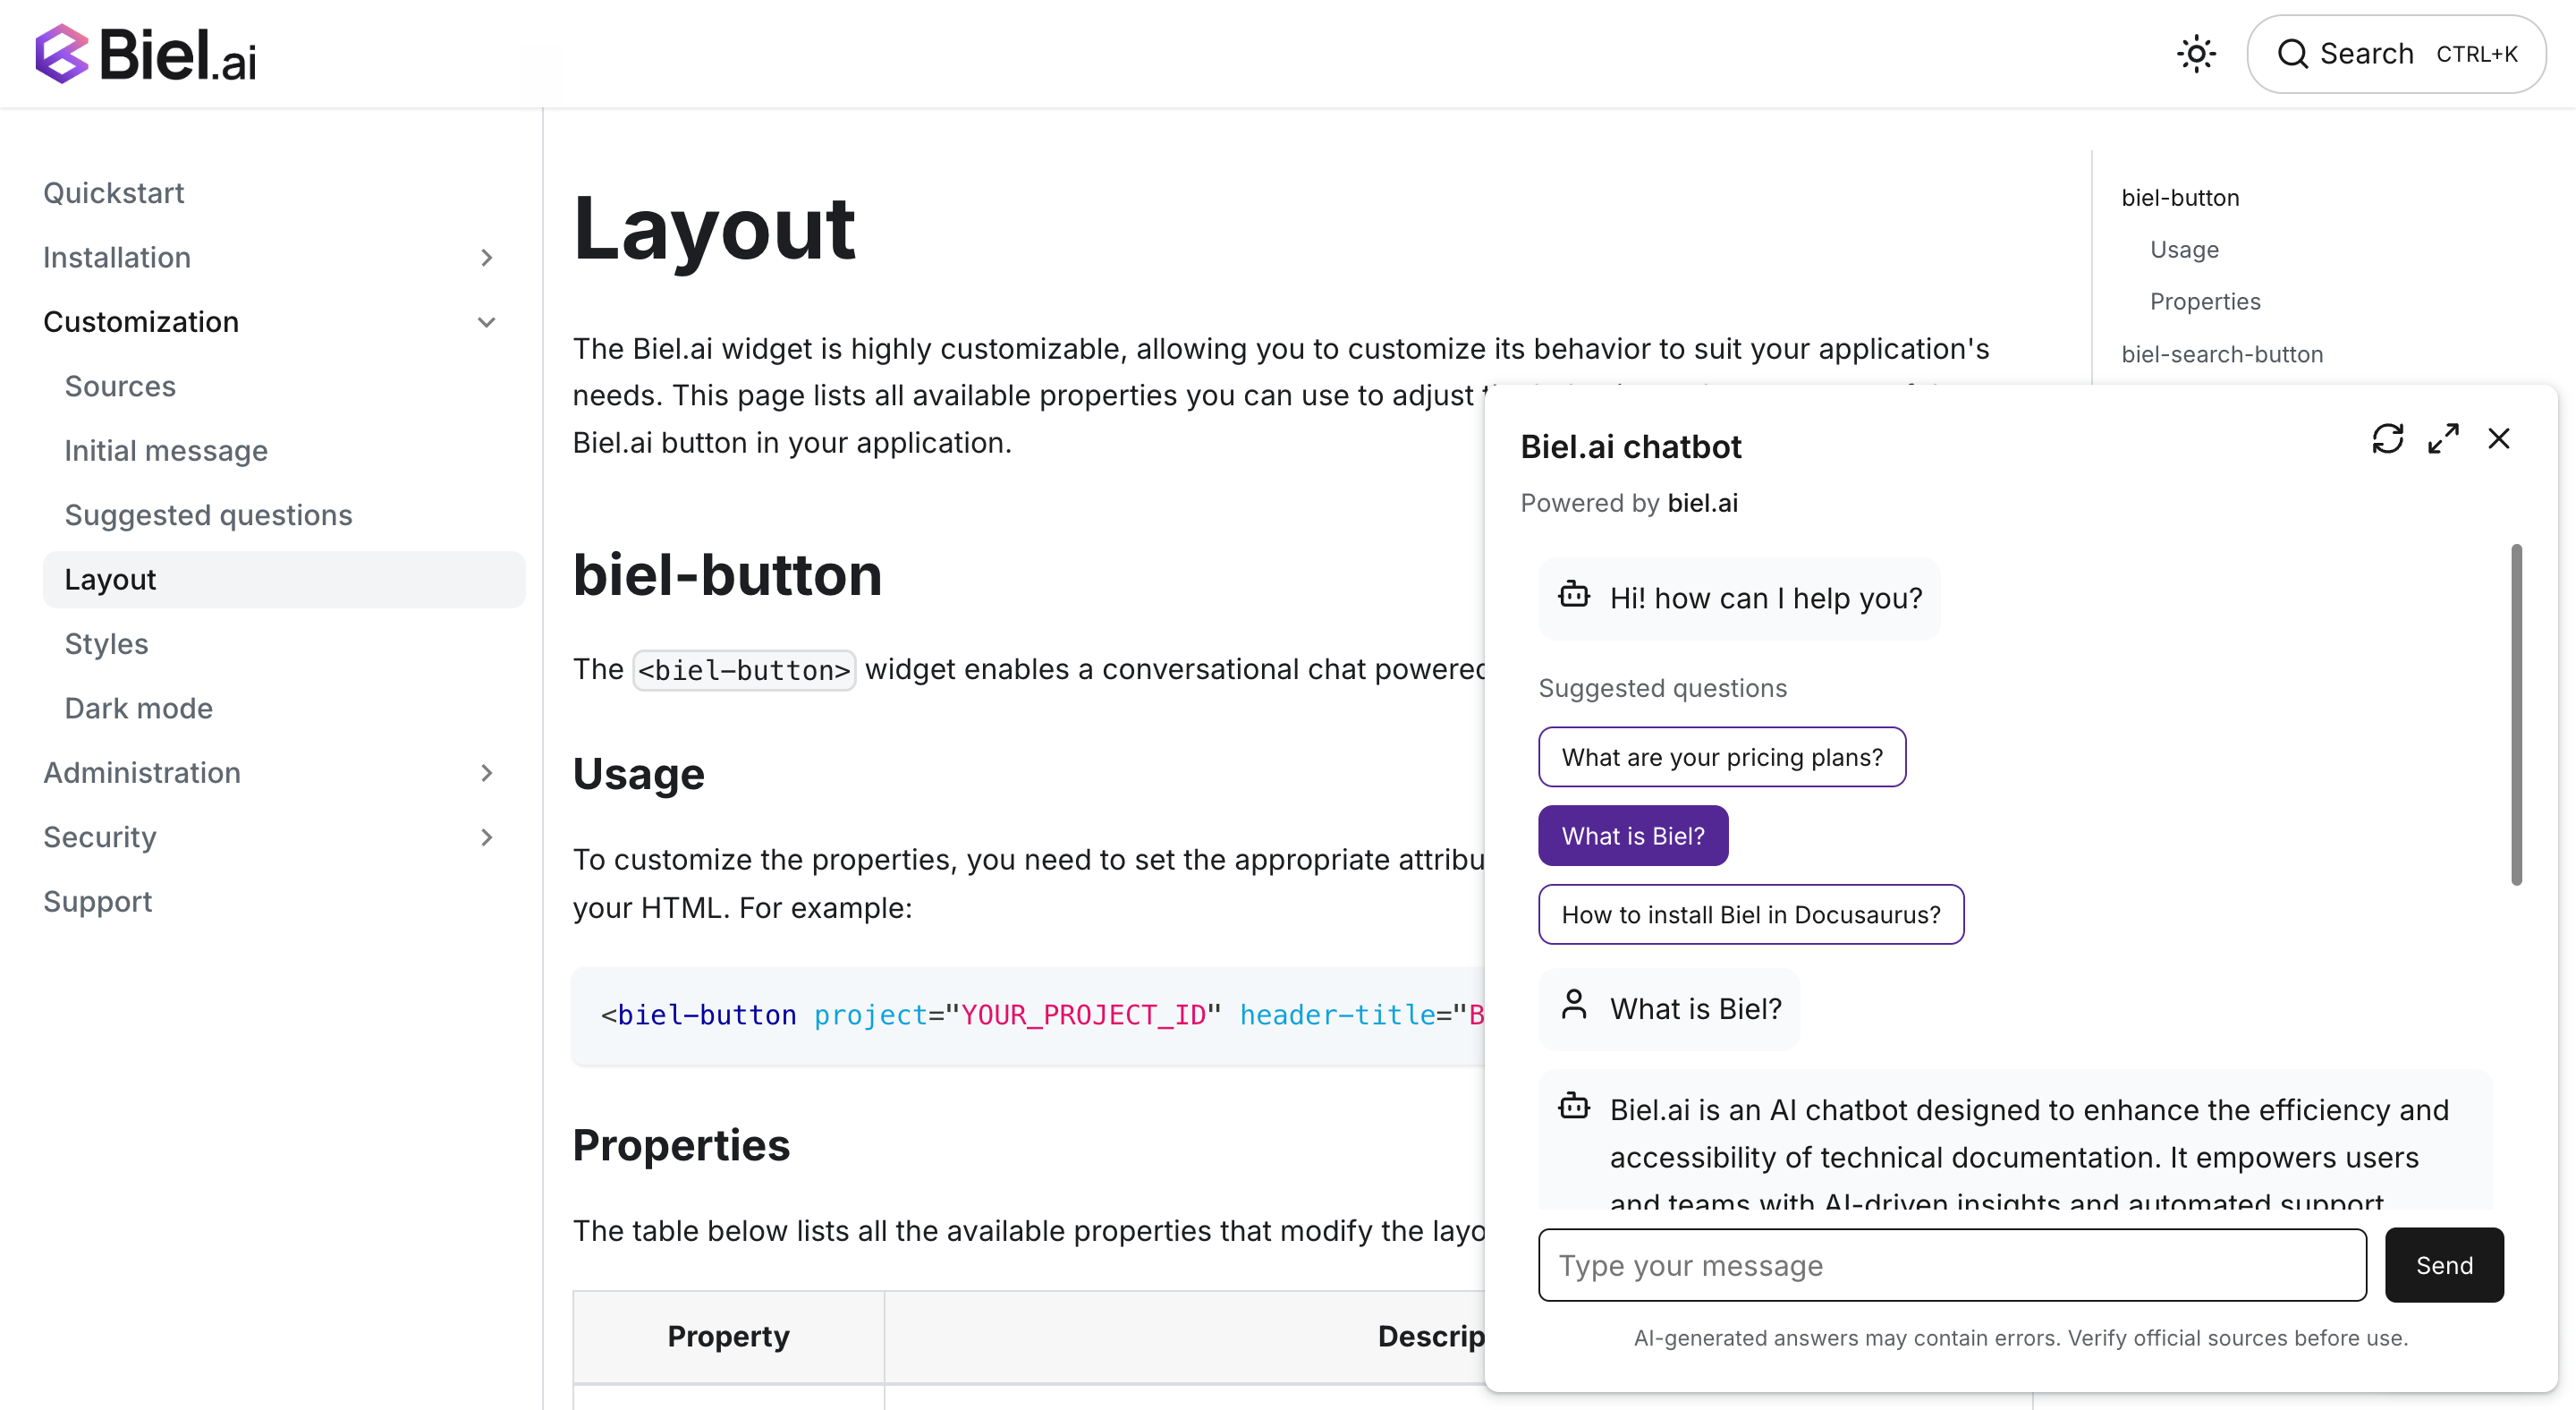
Ask AI chatbot widget for MkDocs
Add an AI chatbot to your MkDocs site using Biel.ai's web components. The integration works with any MkDocs theme, including Material for MkDocs, and requires only adding a few lines to your templates.
This guide shows you how to add the chat widget to your MkDocs site in minutes using template overrides.
Prerequisites
Before starting, ensure you have:
- A Biel.ai account. If you don't have one, sign up for free.
- A project created in your Biel.ai dashboard. Follow the Quickstart guide to create one.
- A MkDocs site ready to install Biel.ai.
Installation
The Biel.AI chat widget enables a conversational chat powered by AI in your site.

-
Create a custom template directory in your project:
mkdir -p docs/overrides -
Create
docs/overrides/main.htmlwith the following content:{% extends "base.html" %}
{% block extrahead %}
<!-- Biel.ai styles -->
<link rel="stylesheet" href="https://cdn.jsdelivr.net/npm/biel-search/dist/biel-search/biel-search.css">
<!-- Biel.ai script -->
<script type="module" src="https://cdn.jsdelivr.net/npm/biel-search/dist/biel-search/biel-search.esm.js"></script>
{% endblock %}
{% block content %}
{{ super() }}
<biel-button project="<YOUR_PROJECT_ID>"
header-title="Documentation AI"
button-position="bottom-right"
modal-position="bottom-right"
button-style="dark">
Ask AI
</biel-button>
{% endblock %}Replace
<YOUR_PROJECT_ID>with your actual project ID from the Biel.ai dashboard. -
Update your
mkdocs.ymlconfiguration:theme:
name: material # or your preferred theme
custom_dir: 'docs/overrides' -
Test your integration:
mkdocs serveOpen your browser to verify the chat button appears in the bottom-right corner.
Material for MkDocs keyboard shortcut compatibility
If you're using Material for MkDocs and want to prevent conflicts between Material's keyboard shortcuts and Biel.ai's functionality, add this optional configuration:
-
Create the JavaScript directory and file:
mkdir -p docs/javascripts -
Create
docs/javascripts/disable-search-autofocus.js:document.addEventListener('keydown', (e) => {
// Block Material's keyboard shortcuts
const blockedKeys = ['f', 's', '/', 'p', 'n', ',', '.'];
if (blockedKeys.includes(e.key.toLowerCase())) {
e.stopPropagation();
}
}); -
Add the script to your
mkdocs.yml:theme:
name: material
custom_dir: 'docs/overrides'
extra_javascript:
- javascripts/disable-search-autofocus.js
This disables Material's search shortcuts (f, s, /) and navigation shortcuts (p, n, ,, .) to prevent conflicts with Biel.ai's keyboard handling.
Next steps
For more about customization and additional features exploration, check out the customization section.
Need assistance? We're here to help! Reach out to us at Biel.ai Support.