Ask AI chatbot widget for Fumadocs
Add an AI chatbot or AI search widget to your Fumadocs site using Biel.ai's React components.
Prerequisites
- A Biel.ai account. If you don't have one, sign up for free.
- A project created in your Biel.ai dashboard. Follow the Quickstart guide to create one.
- A Fumadocs site ready to install Biel.ai.
- Node.js installed.
Add the chatbot widget
-
Install Biel.ai for React:
npm install biel-react -
Open your root layout file (typically
app/layout.tsx) and add the Biel.ai imports and button component:import './global.css';
import { RootProvider } from 'fumadocs-ui/provider';
import { Inter } from 'next/font/google';
import type { ReactNode } from 'react';
import { BielButton } from 'biel-react';
import { defineCustomElements } from 'biel-search/loader';
import 'biel-search/dist/biel-search/biel-search.css';
const inter = Inter({
subsets: ['latin'],
});
if (typeof window !== 'undefined') {
defineCustomElements(window);
}
export default function Layout({ children }: { children: ReactNode }) {
return (
<html lang="en" className={inter.className}>
<body>
<RootProvider>{children}</RootProvider>
<BielButton
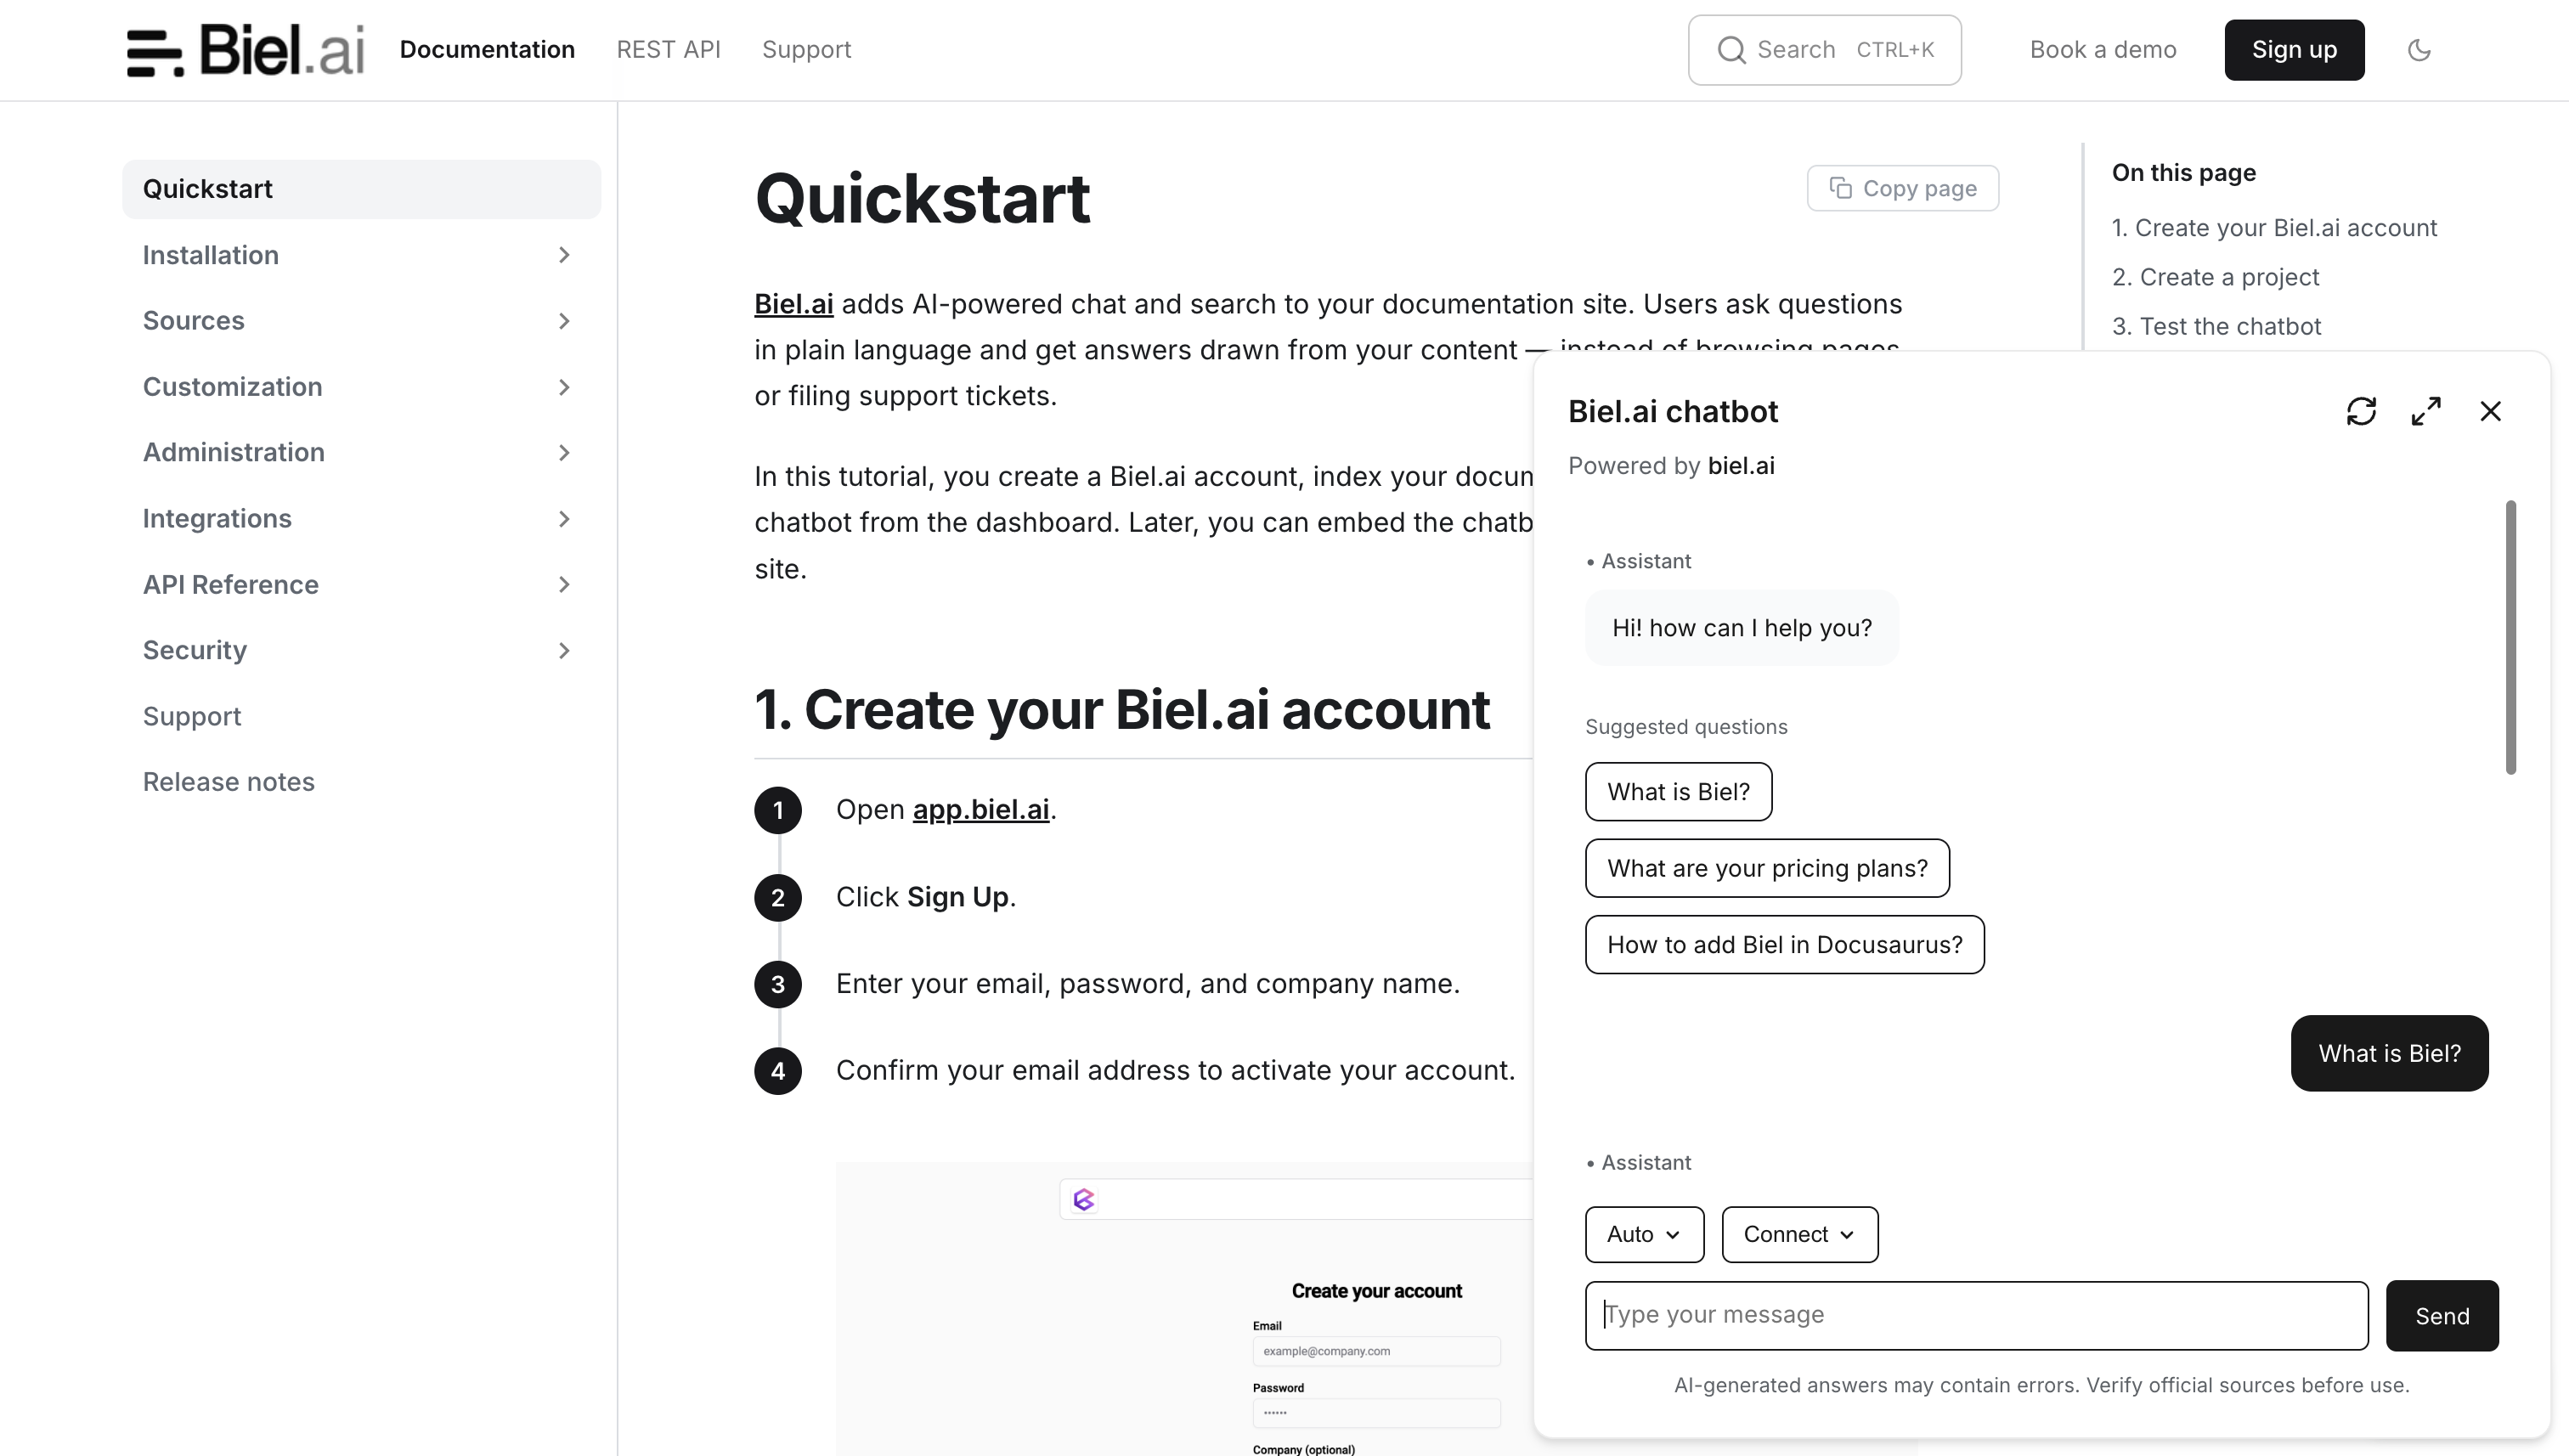
project="<YOUR_PROJECT_ID>"
header-title="Biel.ai chatbot"
button-position="bottom-right"
modal-position="bottom-right"
button-style="dark"
>
Ask AI
</BielButton>
</body>
</html>
);
}Replace
<YOUR_PROJECT_ID>with your project's ID from the Biel.ai dashboard. -
Start your Fumadocs project by running
npm run devand verify that the chatbot appears and functions correctly on your site.
Next steps
- Customize the widget's appearance, behavior, and tone.
- Connect integrations like GitHub Actions, MCP, or Zapier.