Ask AI assistant widget for VitePress
Add an AI assistant or AI search widget to your VitePress documentation using Biel.ai's web components. You can also connect AI agents through MCP, with or without installing the widget.
Prerequisites
- A Biel.ai account.
- A project with indexed content.
- A VitePress site.
- Node.js installed.
Add the assistant widget
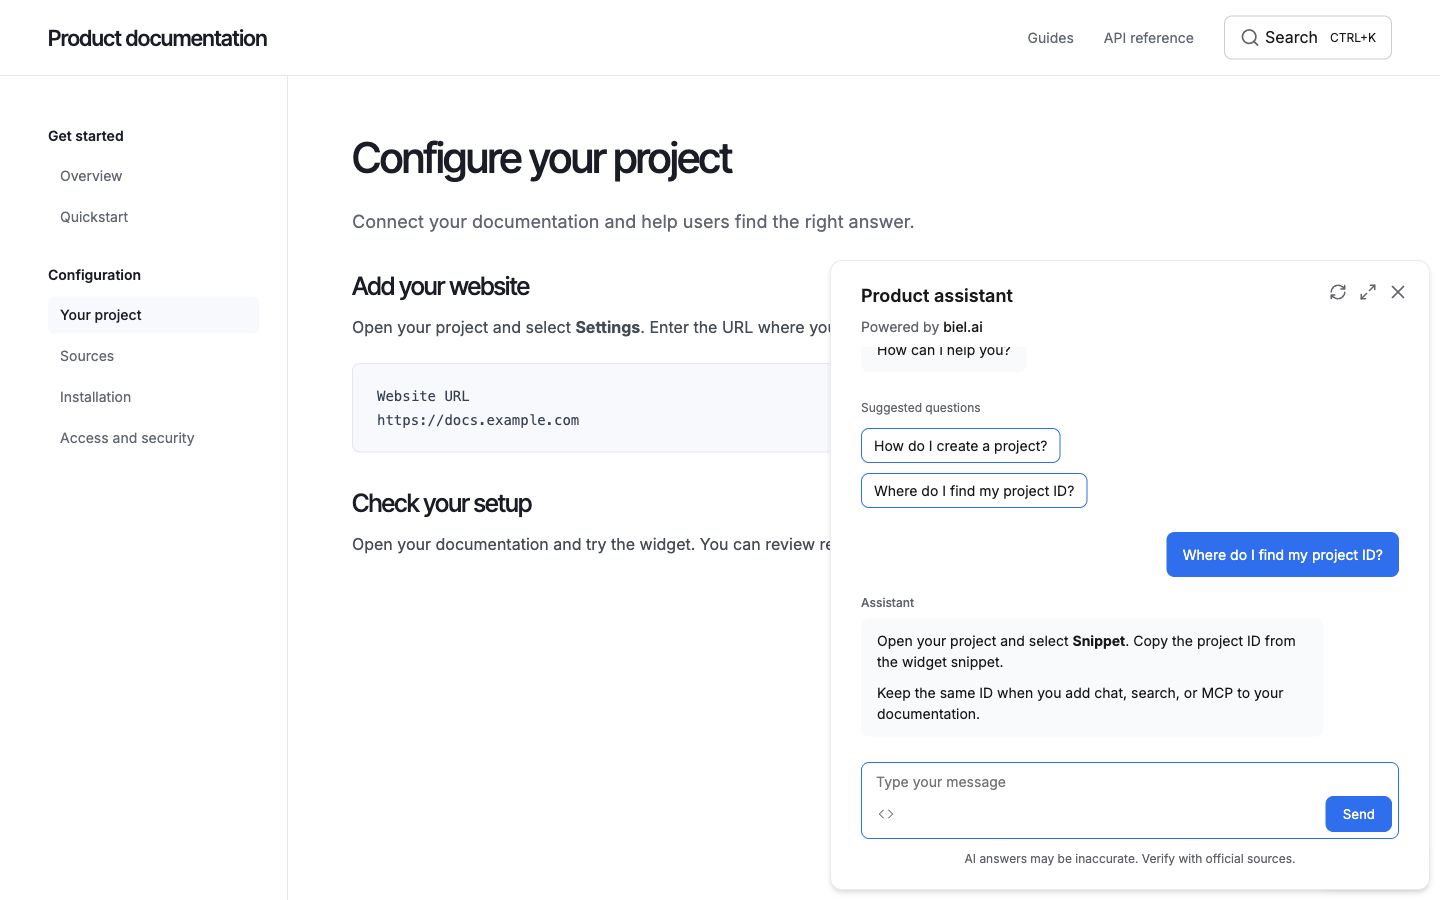
-
Create a custom theme directory if you don't already have one:
mkdir -p .vitepress/theme -
Create a file
.vitepress/theme/index.js(or.tsif using TypeScript) with the following content:import { h, onMounted } from 'vue'import DefaultTheme from 'vitepress/theme'import './custom.css'export default {extends: DefaultTheme,Layout() {return h(DefaultTheme.Layout, null, {'layout-bottom': () => h(BielWidget)})}}const BielWidget = {setup() {onMounted(() => {// Load CSSconst link = document.createElement('link')link.rel = 'stylesheet'link.href = 'https://cdn.jsdelivr.net/npm/biel-search/dist/biel-search/biel-search.css'document.head.appendChild(link)// Load JS moduleconst script = document.createElement('script')script.type = 'module'script.src = 'https://cdn.jsdelivr.net/npm/biel-search/dist/biel-search/biel-search.esm.js'document.head.appendChild(script)// Add assistant buttonscript.onload = () => {const button = document.createElement('biel-button')button.setAttribute('project', '<YOUR_PROJECT_ID>')button.setAttribute('header-title', 'Biel.ai assistant')button.setAttribute('button-position', 'bottom-right')button.setAttribute('modal-position', 'bottom-right')button.setAttribute('button-style', 'dark')button.textContent = 'Ask AI'document.body.appendChild(button)}})return () => null}}Replace
<YOUR_PROJECT_ID>with your project's ID from the Biel.ai dashboard. -
Create an empty CSS file
.vitepress/theme/custom.css(you can add custom styles here later if needed):/* Add your custom styles here */ -
Start your VitePress development server:
npm run docs:dev -
Open your documentation and send a test question.
Add the search widget
-
Add the widget assets to
headin.vitepress/config.jsor.ts. Preserve your other configuration:import { defineConfig } from 'vitepress';export default defineConfig({head: [['link', { rel: 'stylesheet', href: 'https://cdn.jsdelivr.net/npm/biel-search/dist/biel-search/biel-search.css' }],['script', { type: 'module', src: 'https://cdn.jsdelivr.net/npm/biel-search/dist/biel-search/biel-search.esm.js' }],],}); -
In
.vitepress/theme/index.js, add the search button to the default theme’s desktop and mobile navigation slots:import { h } from 'vue';import DefaultTheme from 'vitepress/theme';const searchButton = () => h('biel-search-button', {project: '<YOUR_PROJECT_ID>','button-style': 'rounded',}, 'Search');export default {extends: DefaultTheme,Layout() {return h(DefaultTheme.Layout, null, {'nav-bar-content-after': searchButton,'nav-screen-content-after': searchButton,});},};Replace
<YOUR_PROJECT_ID>with your project ID. If you already customizeLayout, merge these slots into it. -
If replacing VitePress search, remove your existing
themeConfig.searchsetting. Runnpm run docs:devand test Search from the navbar and mobile menu.
Alternative: Using head configuration
If you prefer not to create a custom theme, you can add the widget using VitePress's head configuration.
-
Open your
.vitepress/config.js(or.ts) file. -
Add the following to your config:
import { defineConfig } from 'vitepress'export default defineConfig({// ... your other confighead: [['link',{ rel: 'stylesheet', href: 'https://cdn.jsdelivr.net/npm/biel-search/dist/biel-search/biel-search.css' }],['script',{ type: 'module', src: 'https://cdn.jsdelivr.net/npm/biel-search/dist/biel-search/biel-search.esm.js' }],['script',{},`window.addEventListener('DOMContentLoaded', () => {const button = document.createElement('biel-button');button.setAttribute('project', '<YOUR_PROJECT_ID>');button.setAttribute('header-title', 'Biel.ai assistant');button.setAttribute('button-position', 'bottom-right');button.setAttribute('modal-position', 'bottom-right');button.setAttribute('button-style', 'dark');button.textContent = 'Ask AI';document.body.appendChild(button);});`]]})Replace
<YOUR_PROJECT_ID>with your project's ID from the Biel.ai dashboard. -
Restart your development server to see the changes.
Connect AI agents with MCP
Let AI tools search and read your indexed documentation. MCP is available on every plan and during your trial.
- In the Biel.ai dashboard, open your project’s Settings > MCP.
- Select Enable MCP server and click Save.
- In the widget, open Connect via MCP using the
<>button. Select your AI client or choose MCP URL to copy the endpoint into its settings.
Without the widget: after enabling MCP, copy MCP endpoint from Settings > MCP and add it to your AI client. No widget installation or website changes are required.
The widget also exposes WebMCP tools to compatible browser agents visiting your site. Use the latest widget release and keep Enable WebMCP selected in Settings > MCP.
Next steps
- Customize the widget's appearance, behavior, and tone.
- Connect integrations like GitHub Actions, MCP, or Zapier.