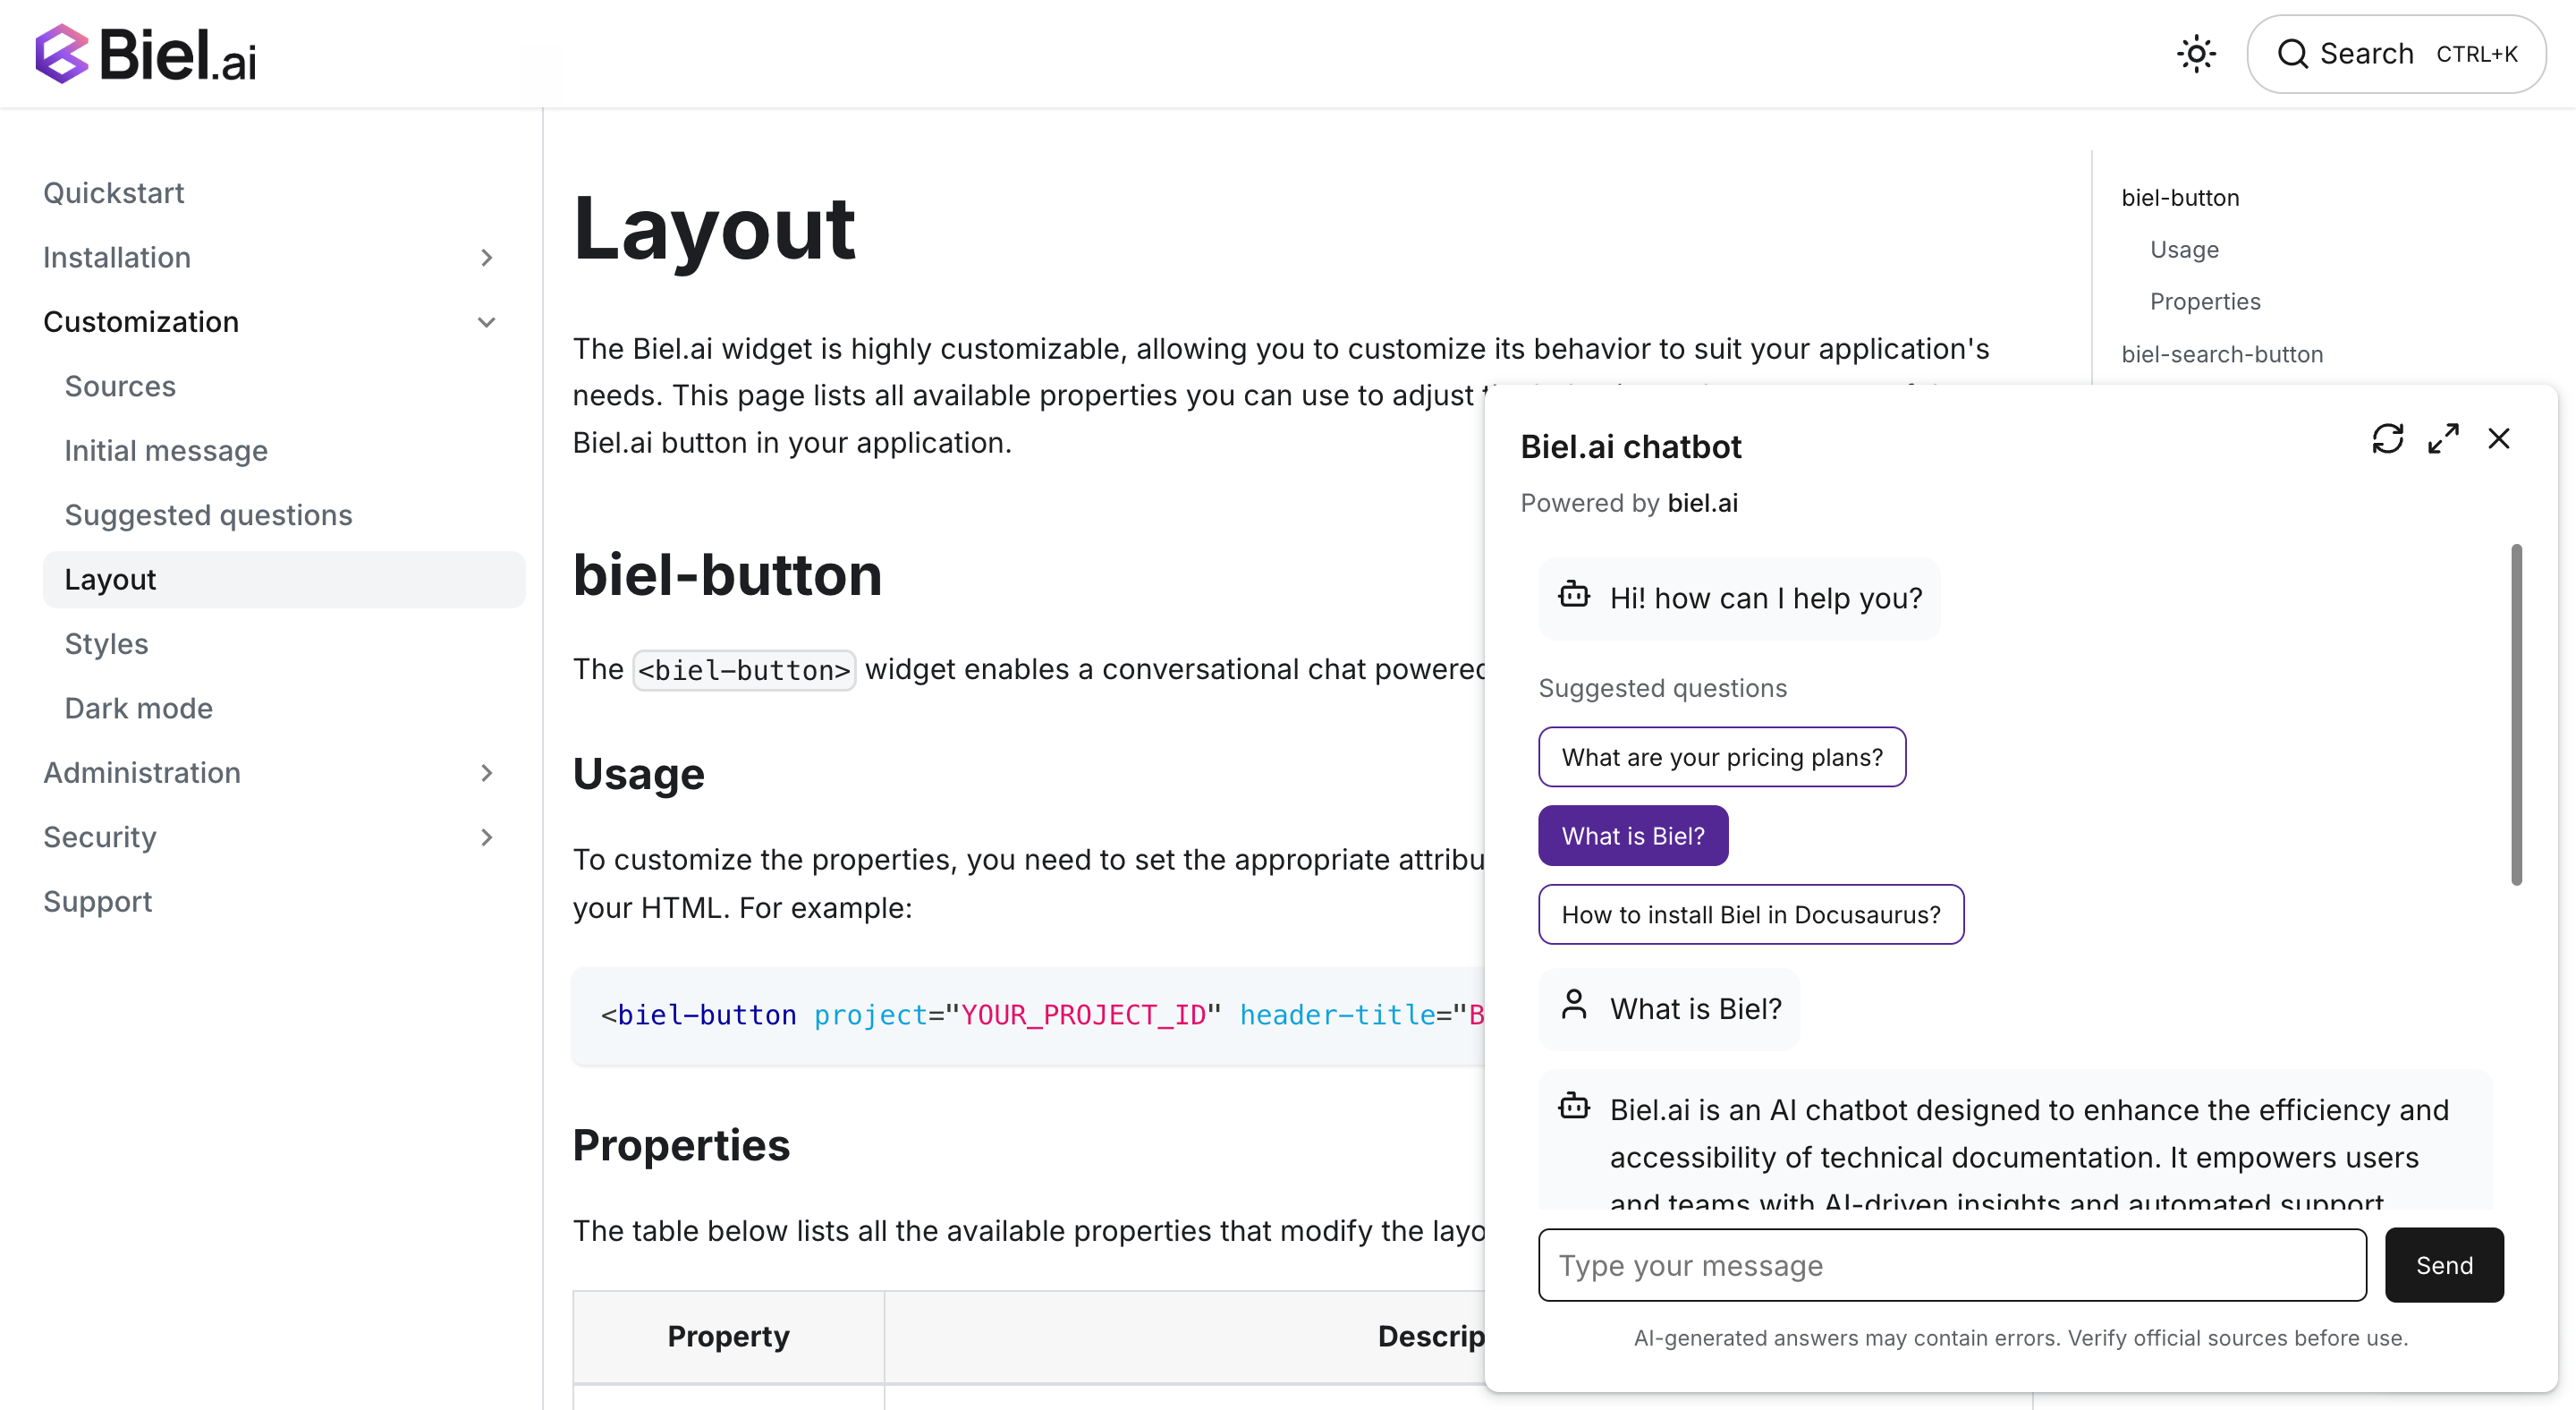
Ask AI chatbot widget for Mintlify
Add an AI chatbot to your Mintlify documentation using Biel.ai's web components. The integration works with any Mintlify project and can be added through custom script configuration in your mint.json file.
This guide shows you how to add the chat widget to your Mintlify docs in minutes.
Prerequisites
Before starting, ensure you have:
- A Biel.ai account. If you don't have one, sign up for free.
- A project created in your Biel.ai dashboard. Follow the Quickstart guide to create one.
- A Mintlify documentation site ready to install Biel.ai.
Installation
The Biel.AI chat widget enables a conversational chat powered by AI in your site.

To integrate the Biel.AI chat widget into your Mintlify site:
-
Open your Mintlify project in your preferred code editor.
-
Locate your
mint.jsonconfiguration file in the root directory of your project. -
Add the Biel.ai scripts to the
headsection of yourmint.json:{
"name": "Your Docs",
"head": [
{
"tag": "link",
"attributes": {
"rel": "stylesheet",
"href": "https://cdn.jsdelivr.net/npm/biel-search/dist/biel-search/biel-search.css"
}
},
{
"tag": "script",
"attributes": {
"type": "module",
"src": "https://cdn.jsdelivr.net/npm/biel-search/dist/biel-search/biel-search.esm.js"
}
}
]
} -
Add a custom script to inject the Biel.ai button. In your
mint.json, add the following to thescriptssection:{
"scripts": [
{
"content": "window.addEventListener('DOMContentLoaded', function() { var button = document.createElement('biel-button'); button.setAttribute('project', '<YOUR_PROJECT_ID>'); button.setAttribute('header-title', 'Biel.ai chatbot'); button.setAttribute('button-position', 'bottom-right'); button.setAttribute('modal-position', 'bottom-right'); button.setAttribute('button-style', 'dark'); button.textContent = 'Ask AI'; document.body.appendChild(button); });"
}
]
}Replace
<YOUR_PROJECT_ID>with your project's ID from the Biel.ai dashboard. -
Your complete
mint.jsonconfiguration should look similar to this:{
"name": "Your Docs",
"head": [
{
"tag": "link",
"attributes": {
"rel": "stylesheet",
"href": "https://cdn.jsdelivr.net/npm/biel-search/dist/biel-search/biel-search.css"
}
},
{
"tag": "script",
"attributes": {
"type": "module",
"src": "https://cdn.jsdelivr.net/npm/biel-search/dist/biel-search/biel-search.esm.js"
}
}
],
"scripts": [
{
"content": "window.addEventListener('DOMContentLoaded', function() { var button = document.createElement('biel-button'); button.setAttribute('project', '<YOUR_PROJECT_ID>'); button.setAttribute('header-title', 'Biel.ai chatbot'); button.setAttribute('button-position', 'bottom-right'); button.setAttribute('modal-position', 'bottom-right'); button.setAttribute('button-style', 'dark'); button.textContent = 'Ask AI'; document.body.appendChild(button); });"
}
]
} -
Save the file and run your Mintlify development server:
mintlify dev -
Open your documentation site in a web browser to verify the chatbot appears and works correctly.
Alternative: Using MDX components
If you prefer more control over where the chatbot appears, you can create a custom MDX component:
-
Create a new file
components/BielChat.mdxin your Mintlify project:<biel-button project="<YOUR_PROJECT_ID>"
header-title="Biel.ai chatbot"
button-position="bottom-right"
modal-position="bottom-right"
button-style="dark">
Ask AI
</biel-button> -
Import and use this component in any MDX page where you want the chatbot to appear.
Next steps
For more about customization and additional features exploration, check out the customization section.
Need assistance? We're here to help! Reach out to us at Biel.ai Support.