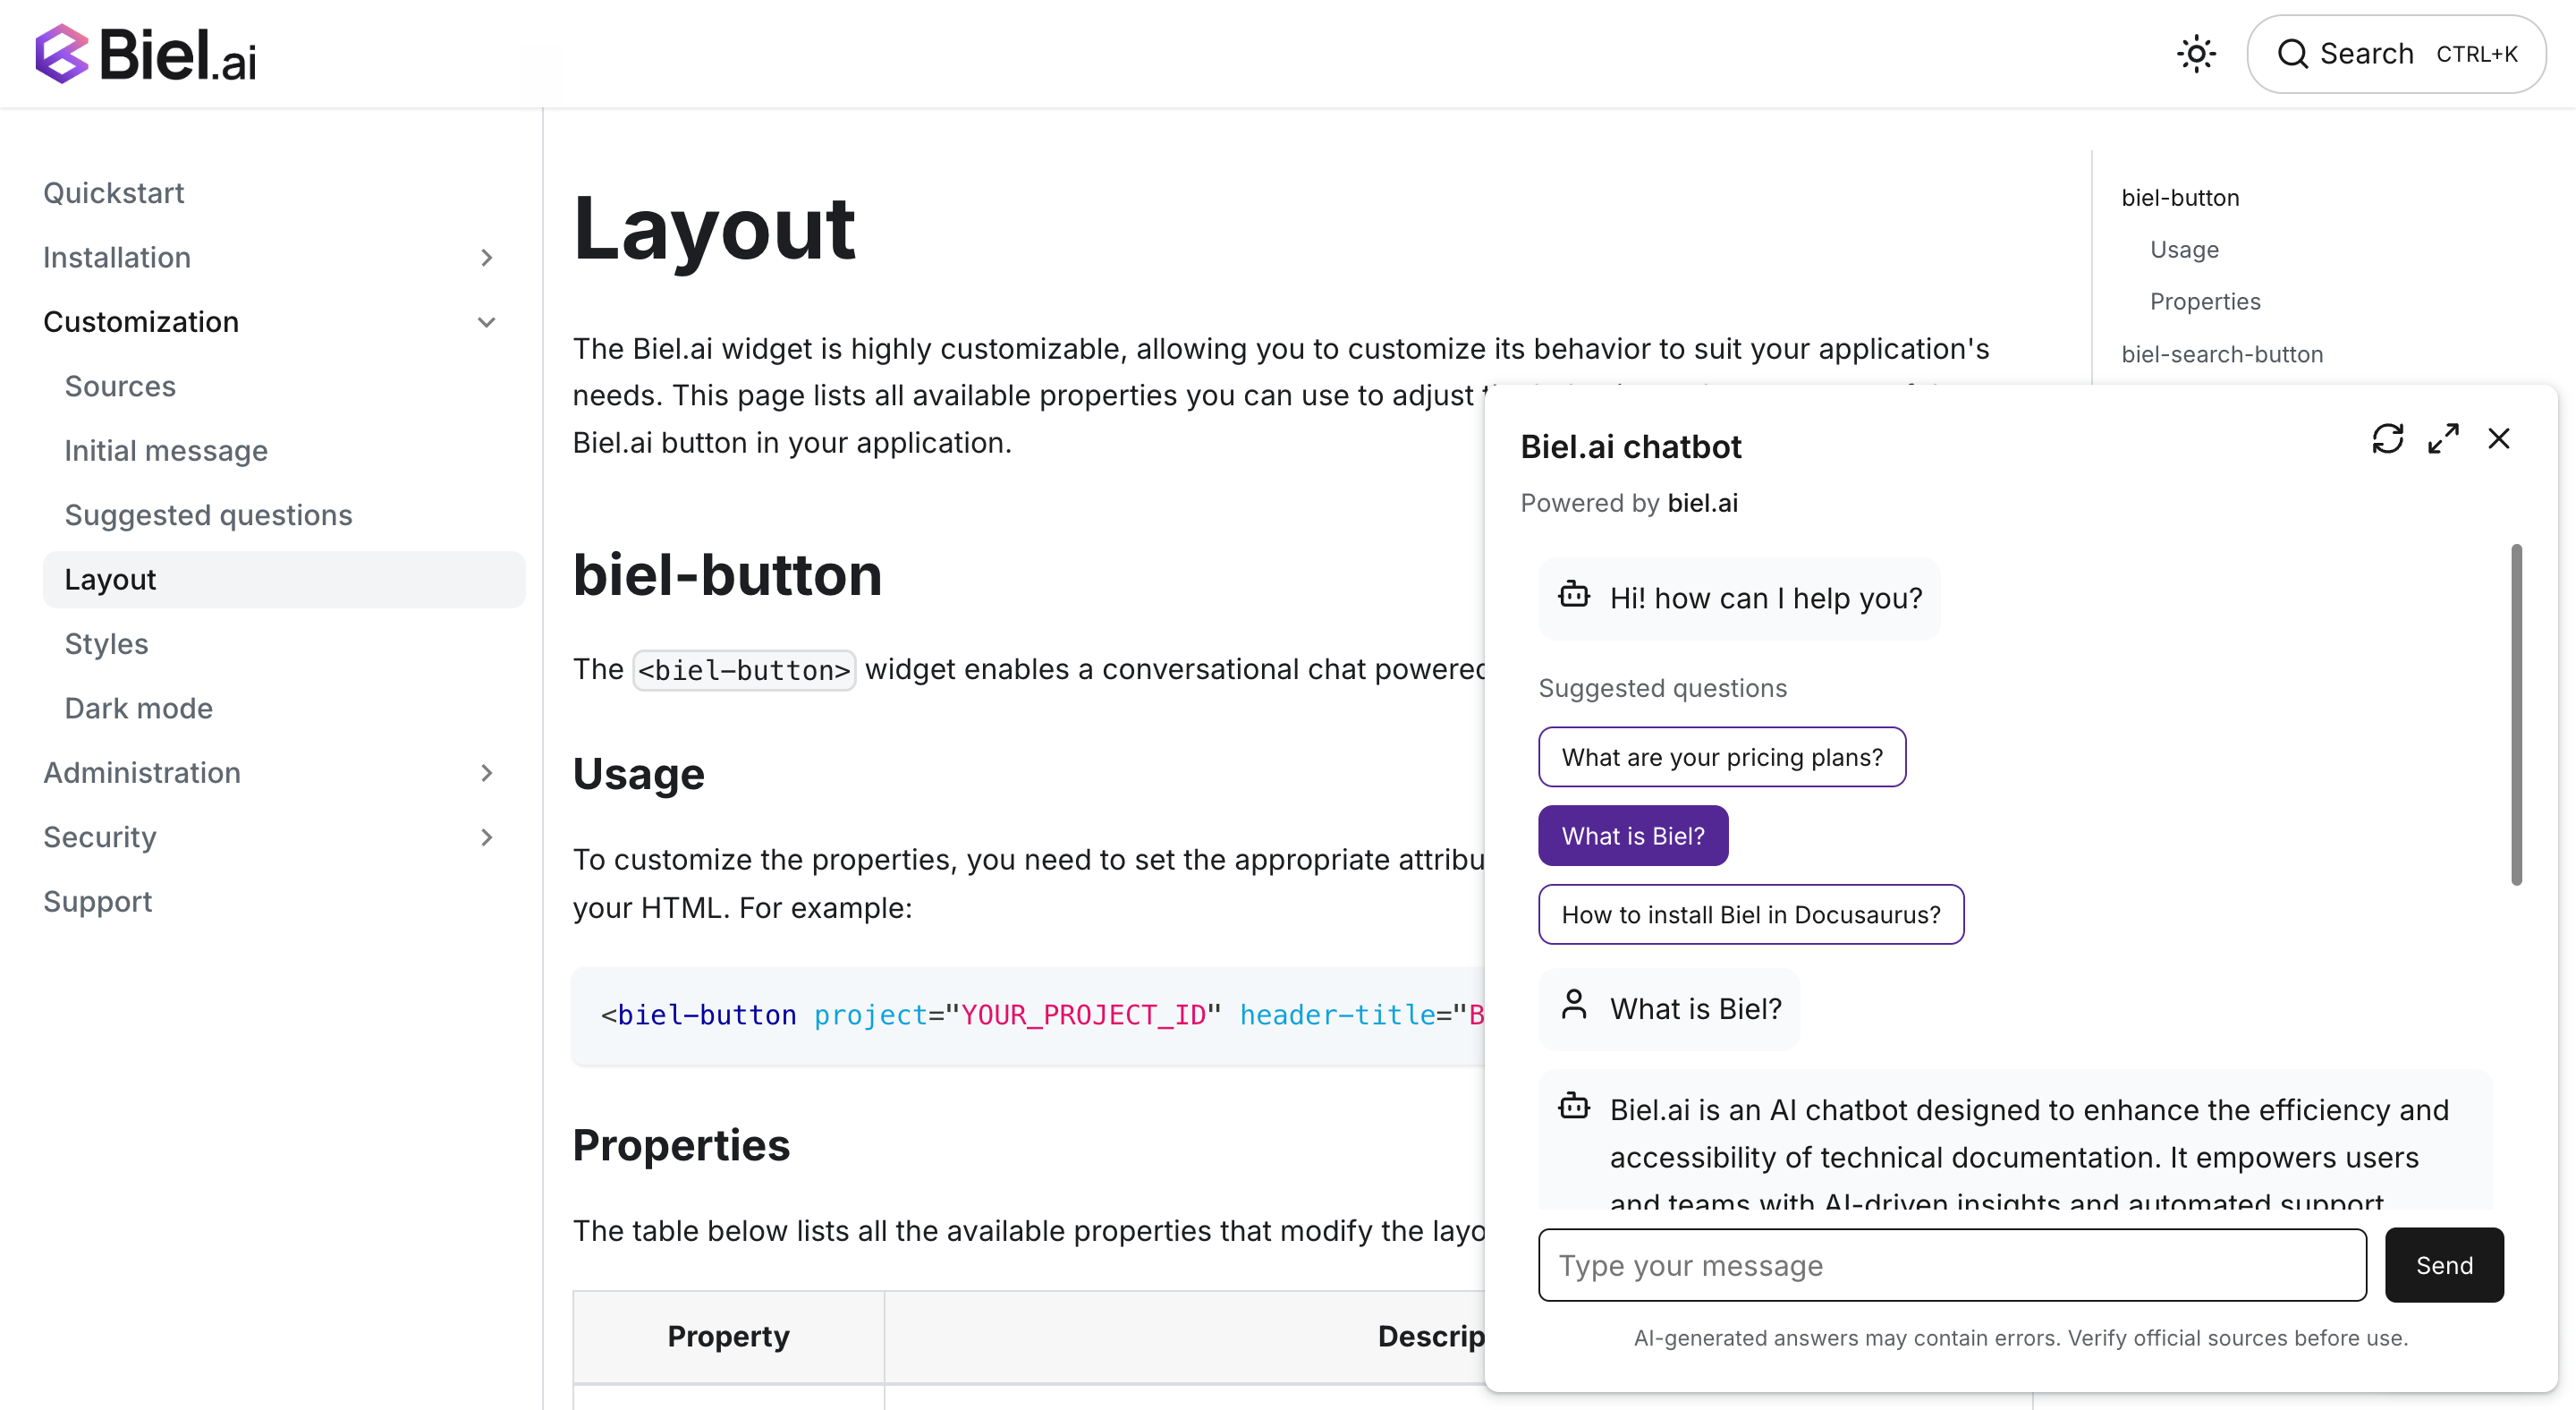
Ask AI chatbot widget for VuePress
Add an AI chatbot to your VuePress documentation using Biel.ai's web components. The integration works with both VuePress 1.x and 2.x, adding conversational AI capabilities to your Vue-powered documentation site.
This guide shows you how to add the chat widget to your VuePress site in minutes.
Prerequisites
Before starting, ensure you have:
- A Biel.ai account. If you don't have one, sign up for free.
- A project created in your Biel.ai dashboard. Follow the Quickstart guide to create one.
- A VuePress site ready to install Biel.ai.
- Node.js installed.
Installation
The Biel.AI chat widget enables a conversational chat powered by AI in your site.

For VuePress 2.x
To integrate the Biel.AI chat widget into your VuePress 2.x site:
-
Open your terminal or command prompt. Navigate to your project's root directory using the
cdcommand:cd path/to/your/projectReplace
path/to/your/projectwith your project's actual directory path. -
Open your VuePress config file (
.vuepress/config.jsor.vuepress/config.ts). -
Add the Biel.ai scripts to the
headconfiguration:import { defineUserConfig } from 'vuepress'
export default defineUserConfig({
// ... your other config
head: [
[
'link',
{ rel: 'stylesheet', href: 'https://cdn.jsdelivr.net/npm/biel-search/dist/biel-search/biel-search.css' }
],
[
'script',
{ type: 'module', src: 'https://cdn.jsdelivr.net/npm/biel-search/dist/biel-search/biel-search.esm.js' }
],
[
'script',
{},
`
if (typeof window !== 'undefined') {
window.addEventListener('DOMContentLoaded', () => {
const button = document.createElement('biel-button');
button.setAttribute('project', '<YOUR_PROJECT_ID>');
button.setAttribute('header-title', 'Biel.ai chatbot');
button.setAttribute('button-position', 'bottom-right');
button.setAttribute('modal-position', 'bottom-right');
button.setAttribute('button-style', 'dark');
button.textContent = 'Ask AI';
document.body.appendChild(button);
});
}
`
]
]
})Replace
<YOUR_PROJECT_ID>with your project's ID from the Biel.ai dashboard. -
Start your VuePress development server:
npm run docs:dev -
Open your documentation site in a web browser to verify the chatbot appears and works correctly.
For VuePress 1.x
If you're using VuePress 1.x, the configuration is slightly different:
-
Open your VuePress config file (
.vuepress/config.js). -
Add the following to your config:
module.exports = {
  // ... your other config
  head: [
    [
      'link',
      { rel: 'stylesheet', href: 'https://cdn.jsdelivr.net/npm/biel-search/dist/biel-search/biel-search.css' }
    ],
    [
      'script',
      { type: 'module', src: 'https://cdn.jsdelivr.net/npm/biel-search/dist/biel-search/biel-search.esm.js' }
    ],
    [
      'script',
      {},
      `
      window.addEventListener('DOMContentLoaded', function() {
        var button = document.createElement('biel-button');
        button.setAttribute('project', '<YOUR_PROJECT_ID>');
        button.setAttribute('header-title', 'Biel.ai chatbot');
        button.setAttribute('button-position', 'bottom-right');
        button.setAttribute('modal-position', 'bottom-right');
        button.setAttribute('button-style', 'dark');
        button.textContent = 'Ask AI';
        document.body.appendChild(button);
      });
      `
    ]
  ]
}
Replace
<YOUR_PROJECT_ID>with your project's ID from the Biel.ai dashboard. -
Start your VuePress development server:
npm run docs:dev
Alternative: Using custom theme layout
For more control over the widget placement, you can create a custom layout component:
-
Create a directory
.vuepress/componentsif it doesn't exist. -
Create a file
.vuepress/components/BielWidget.vue:<template>
<ClientOnly>
<div ref="widgetContainer"></div>
</ClientOnly>
</template>
<script>
export default {
name: 'BielWidget',
mounted() {
// Load CSS
const link = document.createElement('link')
link.rel = 'stylesheet'
link.href = 'https://cdn.jsdelivr.net/npm/biel-search/dist/biel-search/biel-search.css'
document.head.appendChild(link)
// Load JS module
const script = document.createElement('script')
script.type = 'module'
script.src = 'https://cdn.jsdelivr.net/npm/biel-search/dist/biel-search/biel-search.esm.js'
document.head.appendChild(script)
// Add chatbot button
script.onload = () => {
const button = document.createElement('biel-button')
button.setAttribute('project', '<YOUR_PROJECT_ID>')
button.setAttribute('header-title', 'Biel.ai chatbot')
button.setAttribute('button-position', 'bottom-right')
button.setAttribute('modal-position', 'bottom-right')
button.setAttribute('button-style', 'dark')
button.textContent = 'Ask AI'
document.body.appendChild(button)
}
}
}
</script> -
Then use the component in your custom layout or pages as needed:
<BielWidget />
Troubleshooting
Widget not appearing
- Verify your project ID is correct
- Check browser console for any error messages
- Ensure the scripts are loading (check the Network tab)
Build errors with inline scripts
- VuePress may show warnings about inline scripts (this is normal)
- The widget will still work correctly in the built output
Conflicts with VuePress search
- Biel.ai won't interfere with VuePress's built-in search
- If needed, adjust positioning with the
button-positionattribute
Next steps
For more about customization and additional features exploration, check out the customization section.
Need assistance? We're here to help! Reach out to us at Biel.ai Support.