Ask AI assistant widget for MadCap Flare
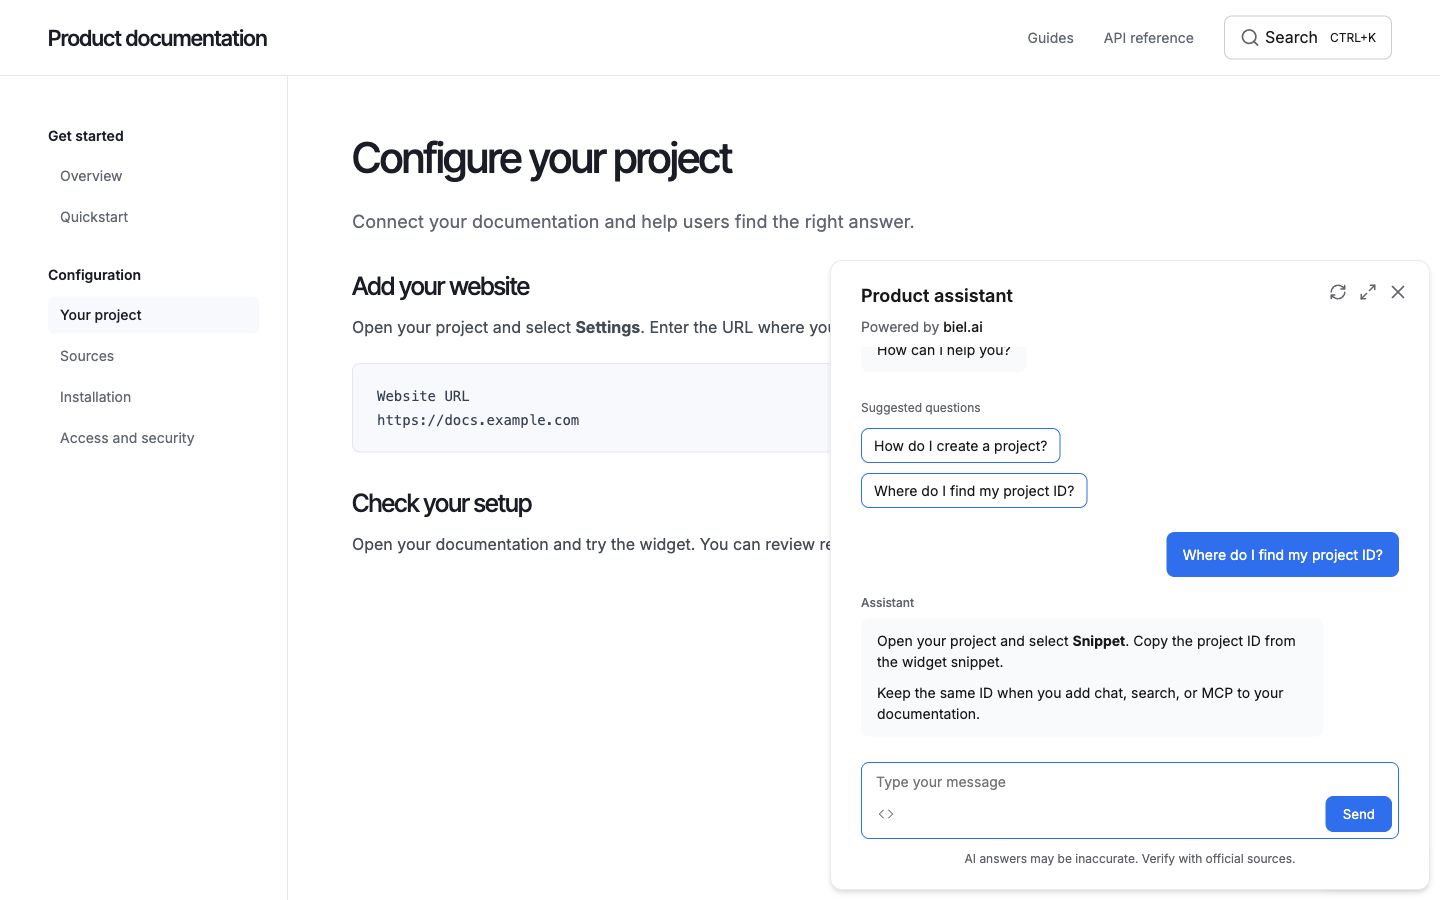
Add an AI assistant or AI search widget to your MadCap Flare documentation using Biel.ai's web components. You can also connect AI agents through MCP, with or without installing the widget.
Prerequisites
- A Biel.ai account.
- A project with indexed content.
- MadCap Flare installed on your computer.
- A Flare project.
Add the assistant widget
Step 1: Modify the master page
-
Open your Flare project in MadCap Flare.
-
In the Project Organizer, navigate to
Content/Resources/MasterPages. -
Open the master page you're using (typically
Home.flmsporOther Topics.flmsp). If your project uses multiple master pages, repeat these steps for each one. -
Switch to the Text Editor view (bottom-left button).
-
Add the Biel.ai initialization scripts in the head section:
<link rel="stylesheet" href="https://cdn.jsdelivr.net/npm/biel-search/dist/biel-search/biel-search.css" /><script type="module" src="https://cdn.jsdelivr.net/npm/biel-search/dist/biel-search/biel-search.esm.js"></script> -
Just before the closing body tag, add the assistant widget:
<biel-button project="<YOUR_PROJECT_ID>"header-title="Biel.ai assistant"button-position="bottom-right"modal-position="bottom-right"button-style="dark">Ask AI</biel-button>Replace
<YOUR_PROJECT_ID>with your project's ID from the Biel.ai dashboard. -
Save the master page.
Step 2: Build and test
-
Build your target:
- Select Project > Build Primary from the menu (or press F6).
- Alternatively, build a specific target from the Project Organizer.
-
Once the build completes, open the generated output in your default browser:
- Select View > Open Output Folder.
- Navigate to the HTML5 output folder.
- Open
index.htmorDefault.htmin a web browser.
-
Verify that the assistant appears and works correctly on your pages.
Example master page snippet
Your master page head section should look something like this:
<head>
<meta charset="utf-8" />
<meta name="viewport" content="width=device-width, initial-scale=1.0" />
<title>
<MadCap:variable name="System.Title" />
</title>
<link href="../Skins/Default/Stylesheets/Slideshow.css" rel="stylesheet" type="text/css" />
<link href="../Skins/Default/Stylesheets/TextEffects.css" rel="stylesheet" type="text/css" />
<link rel="stylesheet" href="https://cdn.jsdelivr.net/npm/biel-search/dist/biel-search/biel-search.css" />
<script type="module" src="https://cdn.jsdelivr.net/npm/biel-search/dist/biel-search/biel-search.esm.js"></script>
</head>
And before the closing body tag:
<biel-button project="<YOUR_PROJECT_ID>"
    header-title="Biel.ai assistant"
    button-position="bottom-right"
    modal-position="bottom-right"
    button-style="dark">
        Ask AI
</biel-button>
</body>
Working with multiple targets
If your Flare project has multiple targets (HTML5, Top Navigation, etc.):
- Ensure each target uses a master page with the Biel.ai code added.
- You can use the same project ID across all targets.
- Build and test each target separately to verify the assistant appears correctly.
Add the search widget
-
Open the master page used by your HTML5 target and add these assets inside its
<head>:<link rel="stylesheet" href="https://cdn.jsdelivr.net/npm/biel-search/dist/biel-search/biel-search.css"><script type="module" src="https://cdn.jsdelivr.net/npm/biel-search/dist/biel-search/biel-search.esm.js"></script> -
Add the search button where you want it to appear in the master page, such as in its header:
<biel-search-button project="<YOUR_PROJECT_ID>" button-style="rounded">Search</biel-search-button>Replace
<YOUR_PROJECT_ID>with your project ID. -
Save the master page and build the HTML5 target. Repeat for any targets using another master page. Open Search, enter a term from your documentation, and open a result.
Troubleshooting
Assistant not appearing after build
- Verify the code was added to the correct master page
- Check that your topics are using the modified master page
- Clear your browser cache and reload the page
- View the page source to confirm the scripts are included
Build warnings or errors
- Flare may show warnings about external scripts (this is normal)
- The assistant will still work correctly in the output
- You can safely ignore warnings about CDN-hosted scripts
Assistant conflicts with Flare's built-in search
- Biel.ai uses different positioning and won't interfere with Flare's search
- If needed, adjust the
button-positionattribute (e.g.,bottom-left,center-right) - You can also customize the appearance through CSS
Styling issues with Top Navigation output
- Top Navigation skins may have different styling
- See the customization section for CSS overrides
- Consider adjusting button positioning for better visual integration
Connect AI agents with MCP
Let AI tools search and read your indexed documentation. MCP is available on every plan and during your trial.
- In the Biel.ai dashboard, open your project’s Settings > MCP.
- Select Enable MCP server and click Save.
- In the widget, open Connect via MCP using the
<>button. Select your AI client or choose MCP URL to copy the endpoint into its settings.
Without the widget: after enabling MCP, copy MCP endpoint from Settings > MCP and add it to your AI client. No widget installation or website changes are required.
The widget also exposes WebMCP tools to compatible browser agents visiting your site. Use the latest widget release and keep Enable WebMCP selected in Settings > MCP.
Next steps
- Customize the widget's appearance, behavior, and tone.
- Connect integrations like GitHub Actions, MCP, or Zapier.